
The Quick Diagnosis If your LGMG scissor lift elevates but won't drive, the Platform Height Position (PHP) sensor (also called a height limit switch) has likely failed or its circuit is compromised. The ECU thinks the platform is raised and is correctly disabling the drive function as a safety measure. You will need a multimeter to test the sensor's signal.
Symptoms & Identification
- The platform lifts and lowers normally.
- Drive function (forward/reverse) is completely dead when the platform is elevated even slightly.
- The machine is stuck in slow "creep speed" even when the platform is fully stowed on the ground.
- No other fault codes are present (e.g., tilt alarm is off).
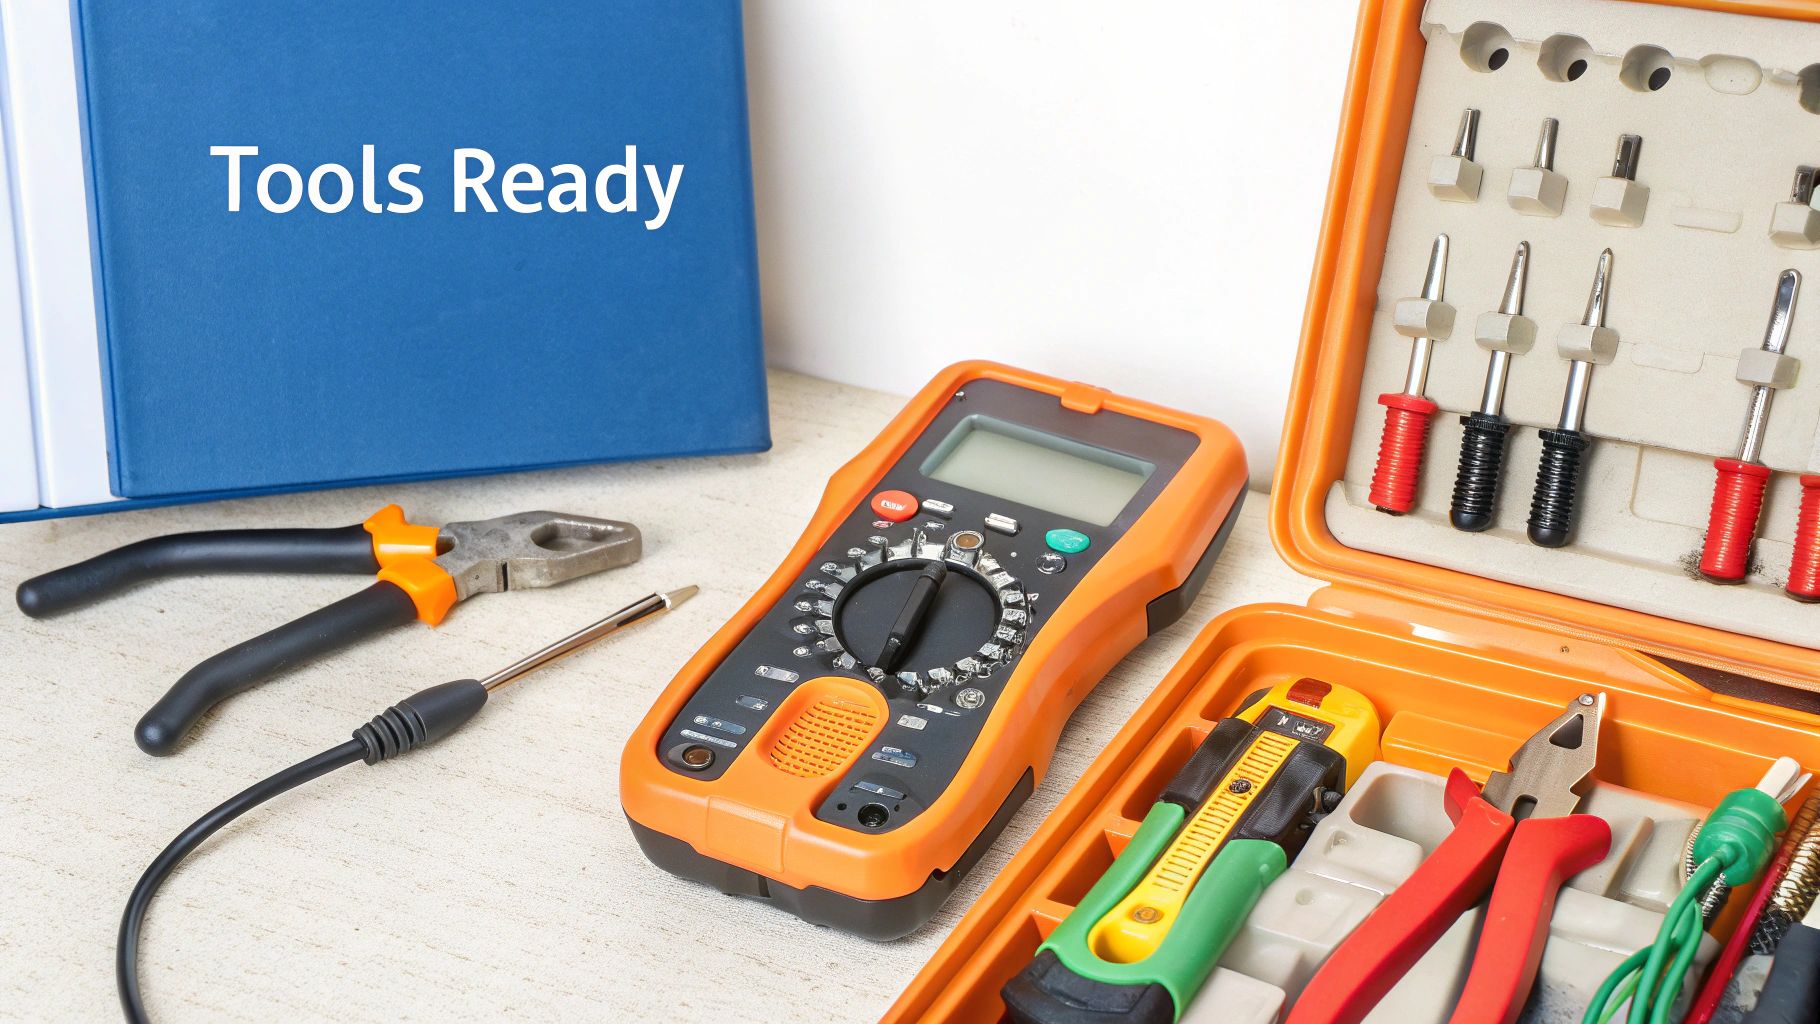
Tools Required
- Digital Multimeter
- Metric Wrench and Socket Set (specifically 10mm or 13mm)
- Insulated Screwdrivers (Flat-head and Phillips)
- Safety Glasses & Gloves
Safety Warning
Chock the wheels before beginning any work. Use the emergency descent valve to fully lower the platform to the stowed position. Disconnect the main negative battery terminal to de-energize the entire machine before testing or replacing components to prevent accidental movement or electrical shock.
The Technical Guide: Diagnosing the PHP Sensor Circuit
If the symptoms match, the Platform Height Position (PHP) sensor circuit is the first and most common point of failure. The ECU isn't receiving the correct signal, so it locks out the drive function to prevent a tip-over. Follow these steps methodically to confirm the failure before replacing parts.

Step 1: Visual Inspection
Before grabbing tools, use your eyes. The PHP sensor is a small proximity or plunger switch mounted on the scissor stack or chassis, positioned to detect when the first scissor arm lifts off its rest.
- Locate the Sensor: Follow the scissor arms down to the chassis to find the switch.
- Check for Damage: Look for a cracked housing, a bent mounting bracket, or a broken plunger. Job site debris can easily damage these exposed components.
- Inspect Mounting: Wiggle the sensor. If it's loose or the bracket is bent, it can create an incorrect gap, causing a false signal.
- Examine Wiring: Trace the sensor's harness. Look for pinched sections, insulation rubbed raw against the frame, or corroded connectors. The harness flex point is a common failure area.
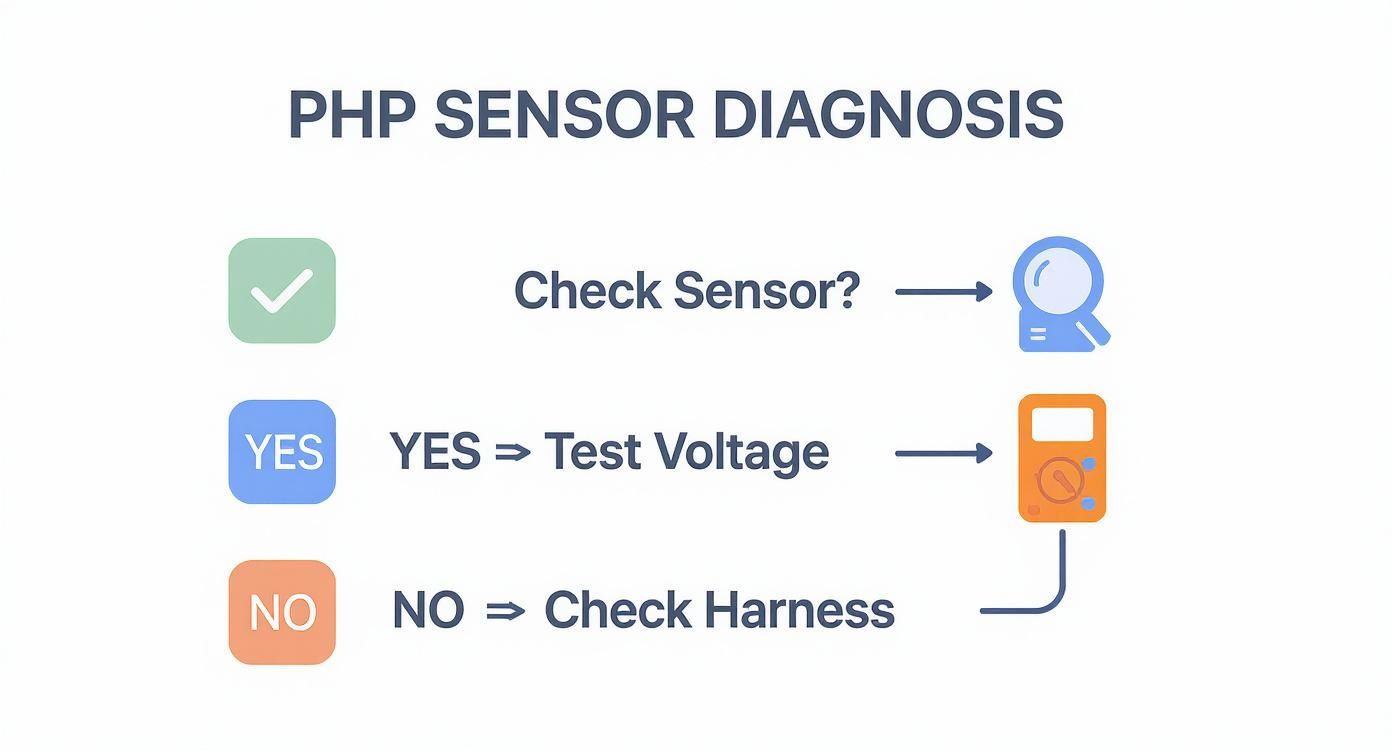
Step 2: Electrical Testing at the Sensor Connector
If the visual inspection shows nothing, grab your multimeter. Disconnect the sensor from the main harness to test the machine side first. Note: You must reconnect the battery and turn the key ON for this test. Ensure the machine is secure.
- Test for Reference Voltage: Set your multimeter to DC Volts. Probe the pins on the harness side of the connector. You should find one pin with a steady ~5V or ~12V reference voltage from the ECU. No voltage here points to a problem upstream in the harness or the ECU itself.
- Verify Ground: Check the voltage between the reference pin and the ground pin; it should read the same value. Then, test for continuity (Ohms) between the ground pin and the chassis frame. A bad ground is the same as a broken power wire.
Step 3: Checking the Sensor Signal Output
Now, test the sensor itself. The power should be off and the sensor should remain unplugged.
- Set Multimeter to Continuity (Ohms Ω): Probe the signal and ground pins on the sensor side of the connector.
- Test Stowed Position: With the platform fully lowered, the sensor should be in one state (either open or closed). Manually activate it (push the plunger or place metal in front of a prox switch). The multimeter reading must change instantly from open circuit (OL) to closed (near 0 Ω), or vice versa.
- Test Released Position: When you release the plunger or move the metal away, the reading must flip back to its original state.
If the sensor doesn't switch cleanly every single time, you've found your failed part.
Step 4: Tracing the Signal Back to the ECU
If the sensor tests good, the final step is to confirm its signal is reaching the ECU. This checks for a broken wire in the harness.
- Consult the Wiring Diagram: Identify the correct PHP sensor signal input pin on the main ECU connector.
- Back-Probe the ECU: Reconnect the sensor. Turn the key ON. Carefully back-probe the identified signal wire at the ECU connector.
- Activate the Sensor: Have a helper slowly elevate the platform just enough to activate the sensor. You should see the voltage on your meter change state (e.g., switching from 0V to system voltage).
If you see a good signal change at the sensor but nothing at the ECU, the harness is broken somewhere in between. If the signal is present and correct at the ECU pin, you may have a rarer ECU input failure.
The Part You Need: PHP Sensor (Height Limit Switch)
You’ve confirmed a bad PHP sensor. The problem is, the dealer will tell you it's a 6-week lead time from the factory. Downtime is the enemy, and waiting that long for a simple sensor is unacceptable when you have a job to finish.
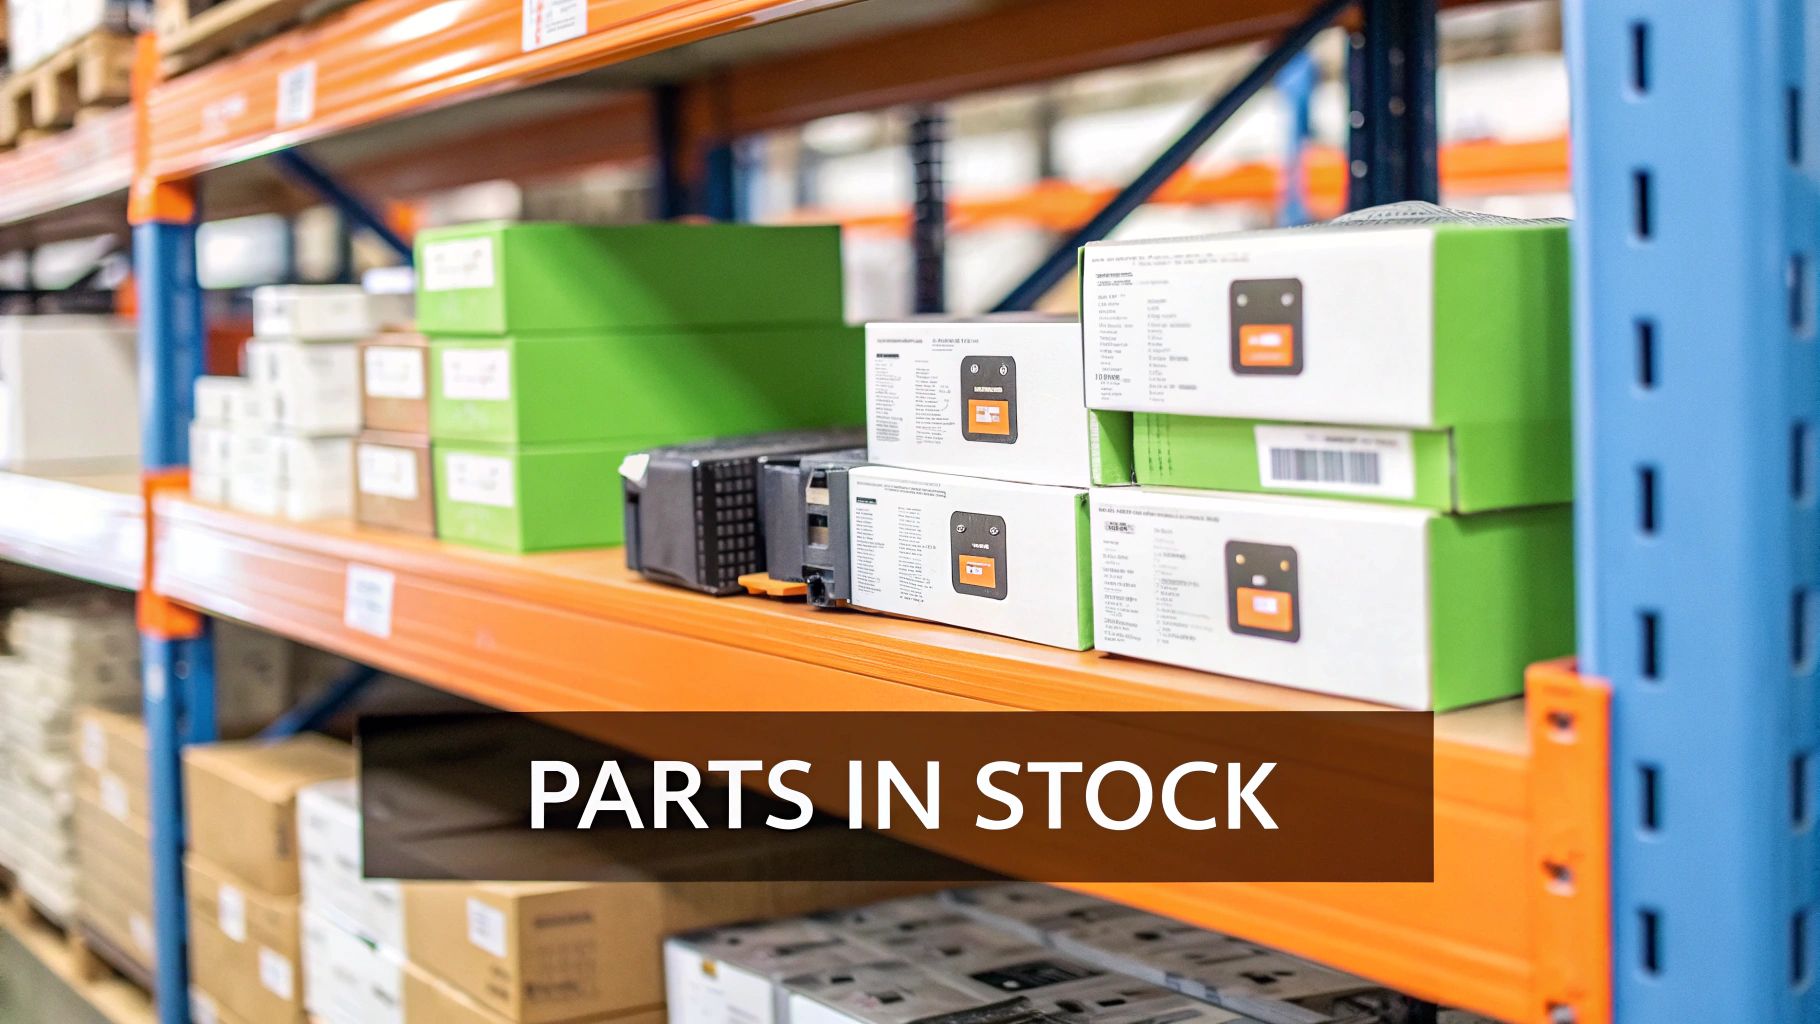
China Lift Supply stocks OEM-compatible LGMG PHP sensors in our Kansas warehouse. We have already handled the overseas shipping so you don't have to. We offer same-day shipping to get your machine back up and running in days, not months.
Advanced Diagnosis: When It's Not the PHP Sensor
If the entire PHP sensor circuit checks out perfectly, don't order an ECU yet. The drive-disable command can also be triggered by other safety interlocks.
- Tilt Sensor: A failed tilt sensor can get stuck in an "alarm" state, telling the ECU the machine is on a slope even when it's on level ground. Test its signal wire; it should change state when the chassis is tilted. If it's stuck in the "tilted" voltage state, it's bad.
- Main Drive Contactor: The ECU may be sending the signal, but if the contactor that powers the drive motors doesn't pull in, you go nowhere. Listen for a solid "clunk" when the joystick is engaged. Silence or a weak buzz points to a failed contactor coil or welded contacts.
- CAN-Bus Communication Fault: A damaged communication wire between the platform and ground controllers can cause this symptom. This usually requires a diagnostic handset to read communication fault codes, which often points to a chafed wire in the main harness running up the scissor stack.
Can't wait 6 weeks for this part? We have it on the shelf in Kansas. Check the price and availability here: https://www.chinaliftsupply.com.