If a decal on your LGMG lift is missing, faded, or illegible, an ANSI or OSHA inspector will spot it immediately and red-tag the machine. This is a safety and compliance failure, not a cosmetic issue. This guide provides the correct placement diagrams to keep your machines in service and avoid downtime.
The Quick Diagnosis A machine with missing or damaged decals is a liability and will fail an inspection. Critical decals for capacity, electrocution risk, and pinch points must be perfectly legible and correctly placed. Replacing a full, model-specific kit is the only way to guarantee compliance and pass.
Symptoms & Identification
You need this guide if your LGMG machine exhibits any of the following:
- Peeling, faded, or cracked decals.
- Missing warnings around pinch points, boom sections, or controls.
- You are prepping a machine for its annual ANSI inspection.
- A machine has been red-tagged by a safety inspector for decal violations.
Tools Required
- Mild Degreaser (50/50 mix of 70%+ isopropyl alcohol and water)
- Plastic Squeegee
- Lint-Free Cloths (x2)
- Spray Bottle
- Heat Gun (Optional, for cold weather or stubborn old decals)
Safety Warning
Never use harsh solvents like brake cleaner or acetone on painted surfaces to remove old decals. These chemicals will soften the paint and cause new decal adhesive to fail prematurely.
The Technical Guide
Why Proper Decal Placement Isn't Optional
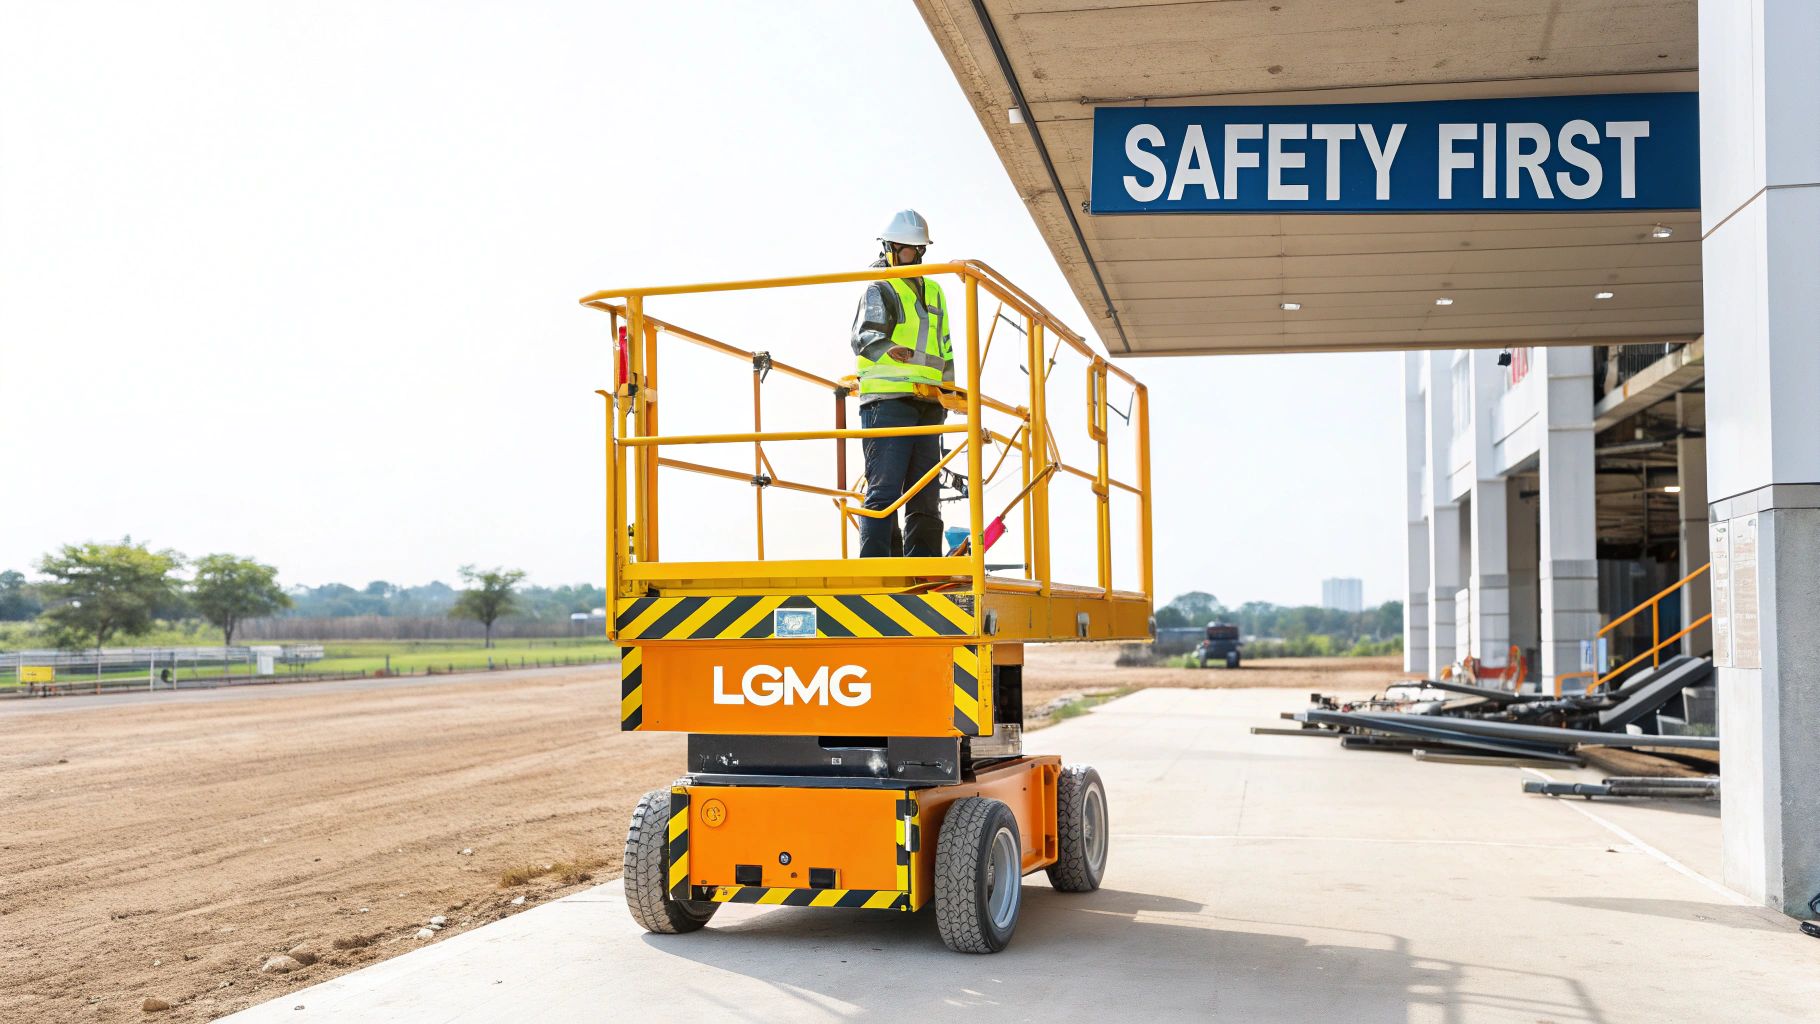
Safety decals are non-negotiable. An ANSI or OSHA inspector doesn’t care that your shop is busy or that a part is on backorder. If a critical electrocution risk decal is missing or a platform capacity sticker is unreadable, that machine is getting pulled from service on the spot. Downtime is lost revenue. A red-tagged machine over a simple sticker is a completely preventable loss.
Proper placement builds operator muscle memory. A mechanic or operator shouldn't have to hunt for the emergency lowering instructions; they need to know exactly where that decal is, every time, on every machine.
The bottom line is this: A machine with missing or improperly placed decals is a liability. It’s unsafe for the operator and puts your company at risk for fines and costly downtime. It's a simple fix that prevents a major headache.
The Real-World Impact of Decal Compliance
Getting decals right isn't just about checking a box. The decal systems from LGMG North America are designed to ANSI standards for a reason. Audits show that maintaining decal systems can reduce safety incidents by 18-22% in the first year. You can learn more about how OSHA views decal compliance over on ForkliftAmerica.com.
Every decal has a specific job:
- Pinch Point Warnings: Must be placed directly adjacent to moving parts where a limb could be crushed.
- Tip-Over Hazards: Placed near controls to remind operators about load limits and ground slope.
- Electrocution Risks: Mandatory on any boom or chassis component that could approach power lines.
- Operational Instructions: Decals for emergency lowering or manual brake release must be visible from the point of action.
This table identifies the critical LGMG safety decal types.
| Decal Type | Color Code | Meaning & Action Required | | :--- | :--- | :--- | | Danger | Red | Indicates an imminently hazardous situation which, if not avoided, will result in death or serious injury. Immediate action is required. | | Warning | Orange | Represents a potentially hazardous situation which, if not avoided, could result in death or serious injury. Requires heightened caution. | | Caution | Yellow | Signals a potentially hazardous situation which, if not avoided, may result in minor or moderate injury. Also used for unsafe practices. | | Notice | Blue | Provides important instructional information that is not directly hazard-related, such as maintenance procedures or operational specs. |
If any of these are missing or damaged, they must be replaced immediately.
Step-by-Step Guide: Surface Prep for a Lasting Application
A decal slapped on a dirty, greasy surface will peel. To do this job once and have it last for years, the prep work is everything.
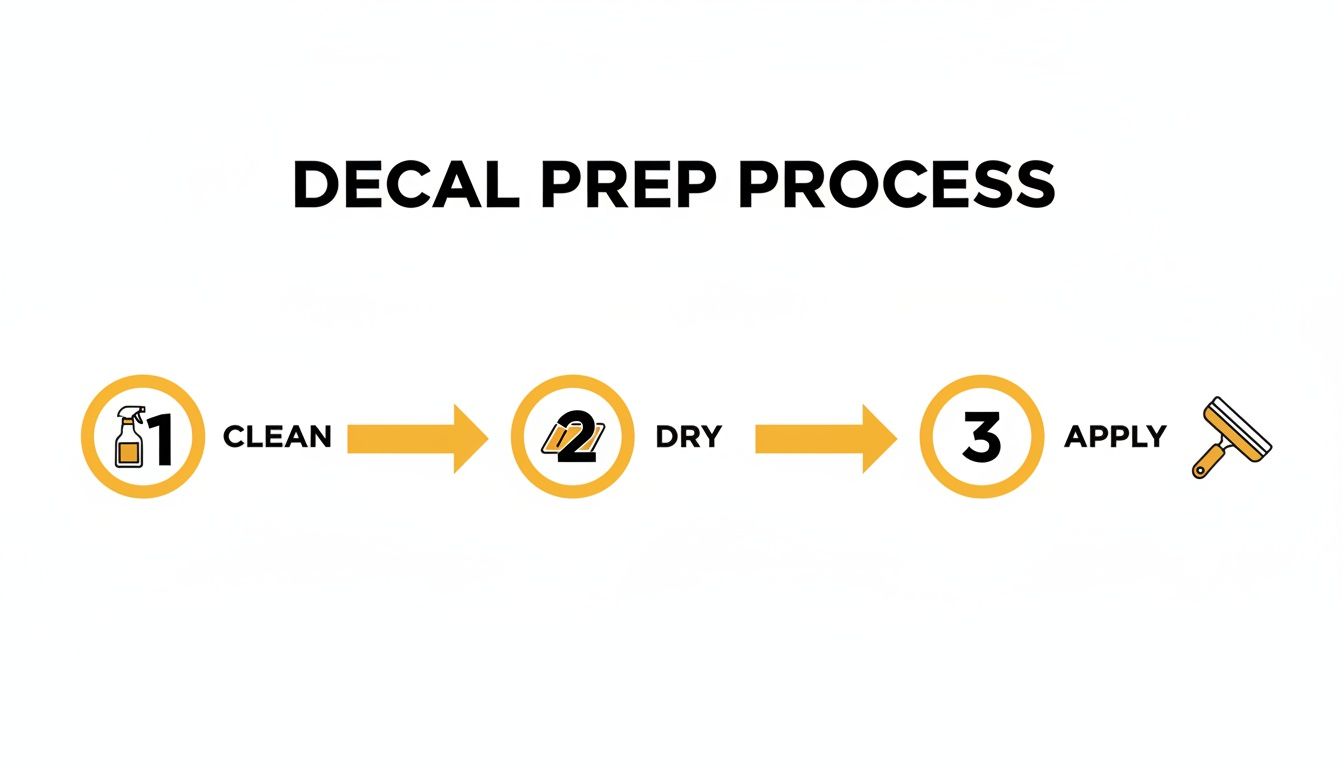
The Shop-Tested Surface Prep Process
- Remove Old Decal: Use a plastic razor blade or a heat gun on a low setting to soften the old adhesive. Lift it off without gouging the paint.
- Degrease the Surface: Generously spray the area with your 50/50 isopropyl alcohol and water solution.
- Wipe Clean: Using a clean, lint-free cloth, wipe in one direction to lift contaminants off the surface instead of smearing them around.
- Dry Thoroughly: With a second, completely dry lint-free cloth, wipe the area until it is 100% dry and free of any oily film. Any moisture left behind will cause bubbles and peeling.
LGMG Decal Placement Diagrams by Model Type
Getting the location right is the difference between passing an inspection and getting red-tagged. A sticker placed an inch too high might as well not be there. Always verify with the machine's specific parts manual, but these diagrams cover the critical placement zones for common LGMG models.
LGMG Scissor Lift Decal Locations (AS1932, AS2632)
Scissor lift decals are located in high-wear areas around controls and entry points and require frequent inspection.
- Platform Capacity Decal: Must be visible to the operator while standing at the controls. This is typically on the top rail of the guardrail, in their direct line of sight.
- Control Box Function Decals: Every joystick and switch needs a clear decal for its function (Lift, Drive, Steer, Horn). This applies to both upper and lower control boxes.
- Emergency Lowering Instructions: This decal must be placed directly next to the manual descent valve, typically on the chassis near the ground controls.
- Tire Pressure/Type Decal: Located on the chassis directly above each wheel or on the main frame near the entry ladder.
LGMG Articulating Boom Lift Decal Locations (A45JE, T65J)
Boom lifts have more complex hazards, making decal placement for electrocution, crush, and tip-over risks even more critical. Note: Components may vary by Gen 1 vs Gen 2 series. Verify with your parts manual.
- Electrocution Hazard Decals: These are mandatory and must be placed on all sides of every boom section. They must be visible from the ground, regardless of boom position. This is the first thing an inspector checks.
- Crush Hazard/Pinch Point Warnings: Place these at every boom articulation point and on the turntable housing where the superstructure swings over the chassis.
- Fall Arrest Anchorage Point: This symbol must be located directly next to the certified D-ring anchor points inside the platform.
- Chassis Leveling Indicator: The bubble level or tilt sensor decal must be clean and visible from the ground controls.
A classic mistake is placing the electrocution warning only on the top of the boom. Ground personnel need to see that warning when the boom is 60 feet up. Placement must account for visibility from all angles.
Verifying Compliance to Pass Your Next Inspection
The job isn't done until you think like an inspector. One peeling, obscured, or illegible decal is all it takes to fail an ANSI A92 or OSHA inspection.
The Inspector's Walk-Around Checklist
- Operator's Station Visibility: Climb into the platform. From the operator's position, can you clearly read the platform capacity, control functions, and fall arrest point decals? If you have to lean or squint, it’s a failure.
- Ground-Level Visibility: Walk a full 360-degrees around the machine. Are emergency lowering, electrocution hazard, and crush point warnings visible from the ground at all angles?
- Operational Obstruction Check: Cycle the machine through its full range of motion. Does any part of the machine (e.g., a retracted boom section) cover a critical decal during operation?
An inspector once wrote a citation for a capacity decal placed on the outside of the guardrail. The operator couldn't see it from the platform. The entire machine was sidelined for that simple mistake.
The Part You Need
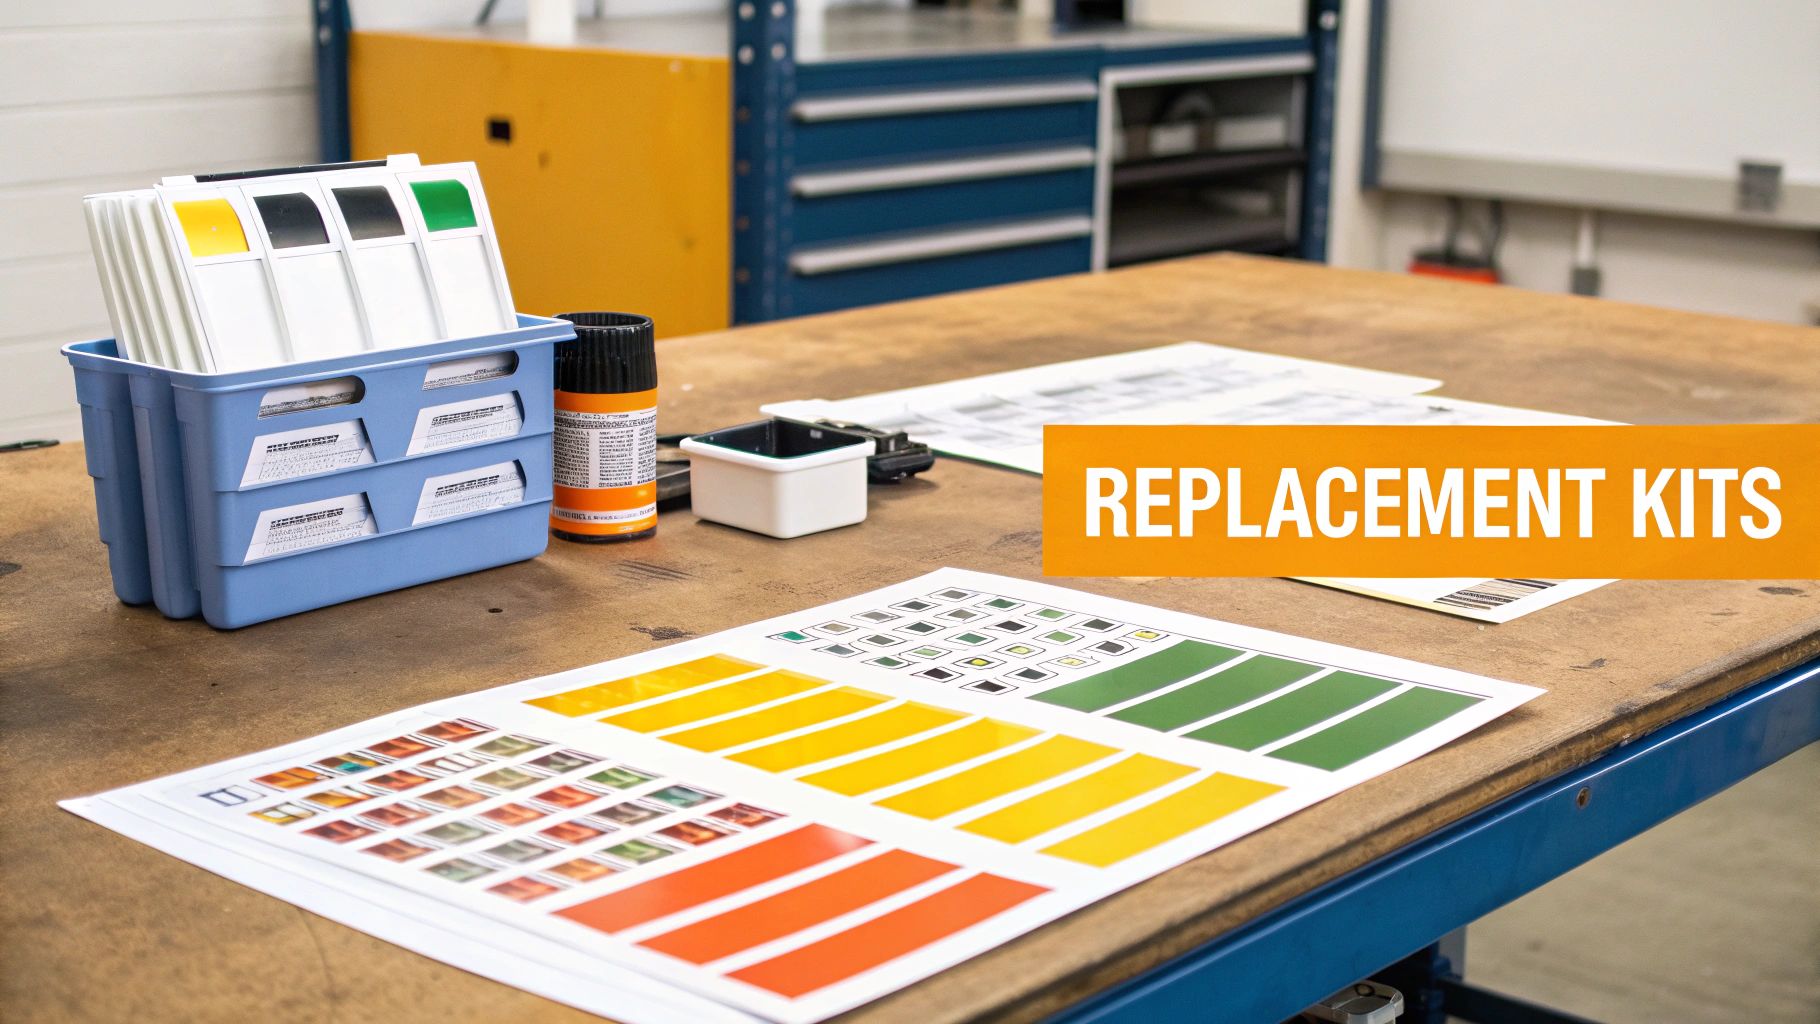
To pass an inspection, you need OEM-compatible, weather-resistant vinyl decal kits that match LGMG's specs for size, color, and wording. Don't use generic "danger" stickers from a catalog—they are a waste of money and will not pass. A proper kit will be made from 5-7 year rated outdoor vinyl with a UV laminate coating to prevent fading and cracking.
Waiting 6-8 weeks for a dealer order from overseas is not an option when a machine is down. Downtime is the enemy. China Lift Supply stocks complete, model-specific LGMG parts and decal kits in the US to avoid that lead time.
If you're encountering other issues with your lift, you might find answers in our general LGMG troubleshooting advice.
Can't wait 6 weeks for this part? We have it on the shelf in Kansas. Check the price and availability here: Check the price and availability here.