If your EP equipment is flashing a fault code, your machine isn't moving product and your boss is screaming. You don't have time to read a novel; you need to know what that code means and which part to replace. This guide will get you from a fault code to a solution fast by matching the code category to the most likely failed component.
The Quick Diagnosis
A drive controller fault code is your starting point, not the final answer. Most codes fall into predictable patterns. An undervoltage code (F1.3) is almost never a bad controller; it's a weak battery or a loose cable. A throttle fault (F1.2) means a bad potentiometer or broken wire in the tiller handle. Use the code to identify the circuit, then use your multimeter to find the failed part.
Symptoms & Identification
Before you even look up the code, the machine is telling you what's wrong. This helps confirm you're on the right track.
- Lifts but won't drive: Classic sign of a throttle, direction switch, or brake circuit fault.
- Machine jerks or moves at the wrong speed: Throttle potentiometer or speed sensor feedback issue.
- Cuts out under a heavy load: Voltage drop. Look at the battery, main cables, or contactor.
- Brake is stuck on: Open circuit or short in the electromagnetic brake coil. The controller is locking it down for safety.
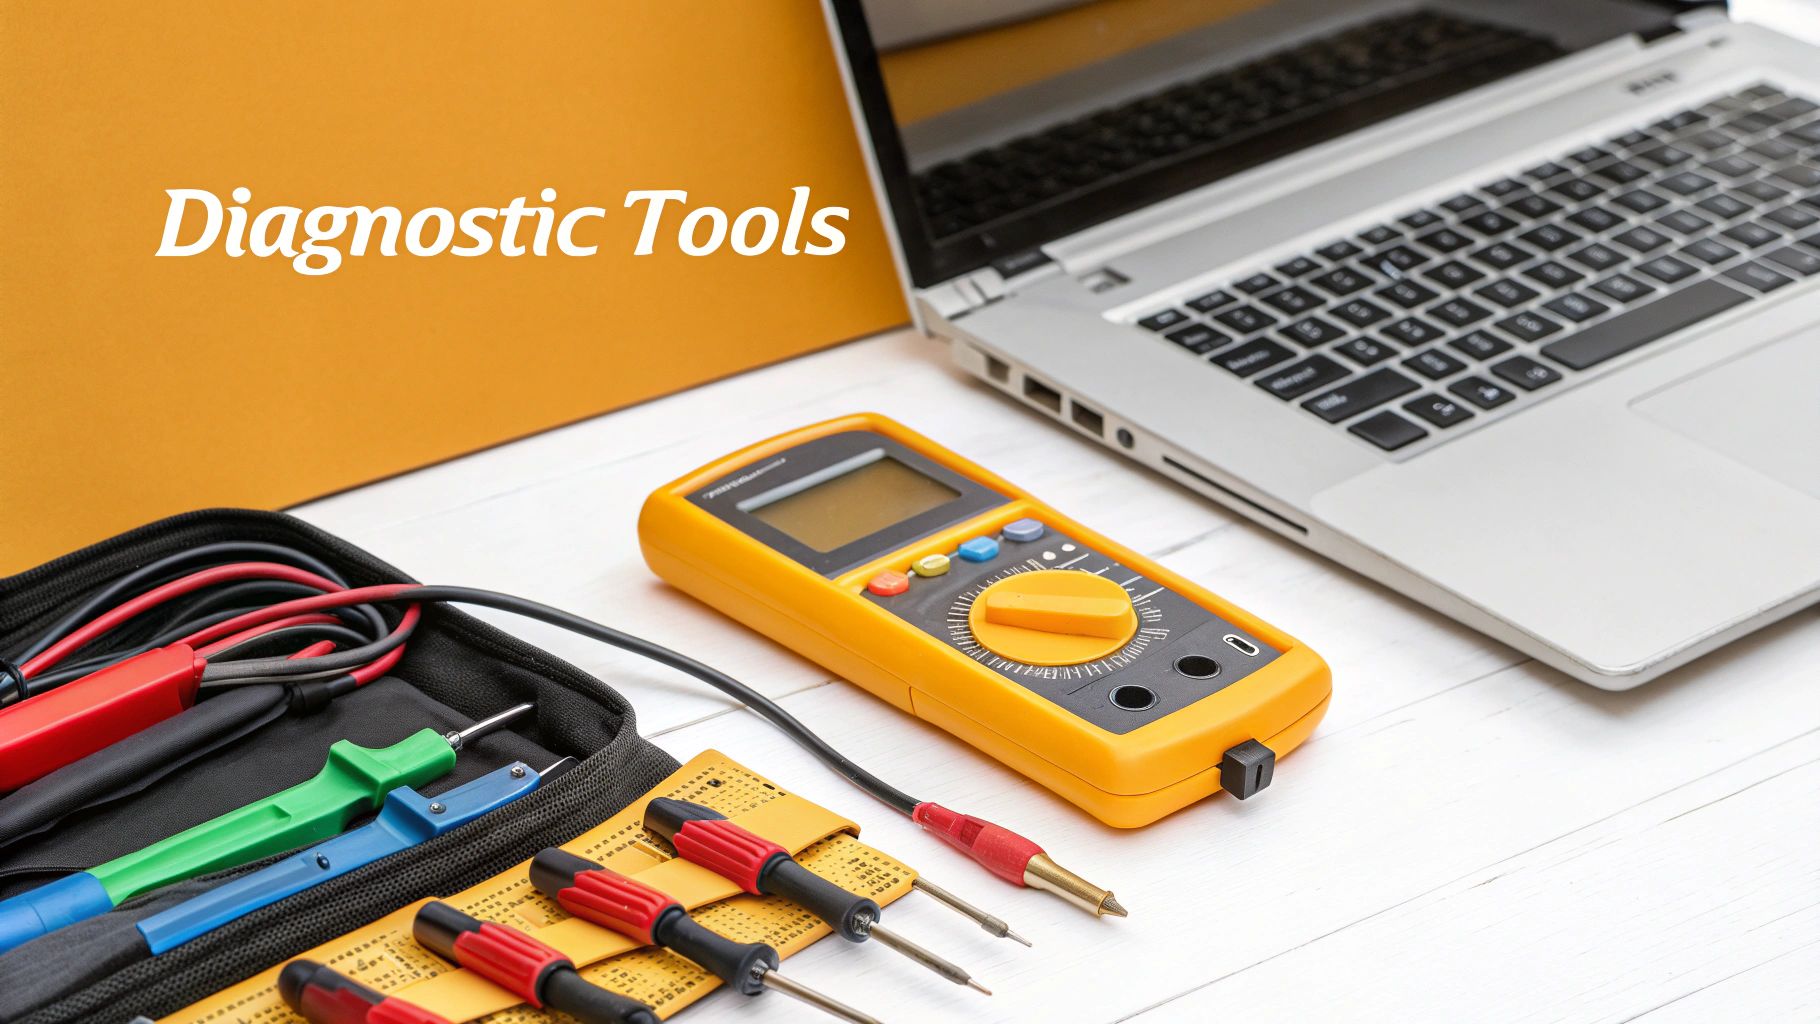
Tools Required
- High-Quality Multimeter (don't cheap out on this)
- Laptop with Diagnostic Software and Cable (for deep dives)
- Insulated Screwdriver and Socket Set
- Jumper Wires with Alligator Clips
Safety Warning
Working on these high-voltage DC systems is no joke. Before your tools touch the machine: Disconnect the main red battery connector completely. Then, use your multimeter to verify 0V across the controller's B+ and B- terminals. The capacitors hold a dangerous charge. Chock the wheels to prevent rolling.
The Technical Guide (Step-by-Step)
Common EP Controller Fault Categories and Likely Causes
Use this table to translate the code into a parts list. Find the category your fault code falls into to immediately see the most probable failed component. This eliminates guesswork.
| Fault Code Category | Symptom Description | Most Likely Cause | The Part You Need | | :--- | :--- | :--- | :--- | | Power & Voltage | Machine won't power on, shuts down under load, or shows a low battery error despite charging. | Failing battery cells, loose/corroded main power cables, or a faulty main contactor. | Battery, Main Power Cable Set, Contactor | | Input Device | No response from tiller/joystick, erratic movement, or failure to move in one direction. | Damaged throttle potentiometer, faulty microswitch in the handle, or broken wiring. | Throttle Potentiometer, Tiller Switch | | Motor Circuit | Machine jerks, moves slowly, or won't move at all; may be accompanied by a burning smell. | Worn motor brushes, open or shorted motor windings, damaged motor cables. | Motor Brush Kit, Drive Motor | | Brake Circuit | Brakes are locked on and won't release, or the machine rolls freely when it should be braked. | Failed electromagnetic brake coil, damaged brake wiring, or an internal controller fault. | Electromagnetic Brake Assembly |
Once you've narrowed down the potential cause using this table, you can move on to more specific diagnostic tests for that component, confident that you're on the right track.
How To Interpret Throttle And Input Device Codes (F1-F2 Series)
If your EP pallet jack is dead or moving erratically, you've likely got an F1 or F2 series code. This means the controller is getting a signal it doesn't like from the operator's controls, usually a F1.2 (Throttle Fault) or F2.2 (Switch Fault). The physical cause is almost always a worn-out throttle pot, a failed microswitch, or damaged wiring in the tiller handle.
To Diagnose a Throttle Fault (F1.2):
- Safety First: Disconnect battery and chock wheels. Verify 0V at the controller.
- Access Tiller Head: Open the cover to expose the throttle potentiometer.
- Inspect: Look for chafed wires or physical damage. Wires often break where they flex.
- Test Potentiometer Resistance: Unplug the pot. Set your multimeter to Ohms (Ω).
- Measure between the positive and negative pins. You should get a fixed reading, often around 5kΩ. If it's open (OL) or shorted (0Ω), the pot is bad.
- Measure between the negative pin and the signal pin. Slowly actuate the throttle. The resistance should sweep smoothly from near zero up to the max reading. Any jumping or drop-outs means the pot is faulty.
To Troubleshoot a Switch Fault (F2.2):
- Isolate the Switch: Disconnect the suspect switch (e.g., forward/reverse selector).
- Perform Continuity Test: Set your multimeter to the continuity setting (beep).
- Test Switch: Place leads on the switch terminals. With the switch open, you should get no continuity (OL). Press the switch. The meter should beep. If it's stuck open or closed, it has failed.
For more documented codes, check out this guide on DriverTruk error codes.
How To Diagnose Power Supply And Battery Codes (F1, F3, F4 Series)
When the machine dies under load, you're looking at a power fault (F1, F3, F4 series). The most common is F1.3 (Undervoltage Cutback). This means the controller saw voltage dip below its safe limit (around 19V on a 24V system). The problem is almost never the controller; it's the battery or the wiring.
To Diagnose Power Faults:
- Static Voltage Check: Unplug the battery. Put your meter on the battery terminals. A full 24V pack should be ~25.4V. If it's below 24V, charge it before testing.
- Load Test: Reconnect battery. Put meter probes on the controller’s B+ and B- terminals. Try to drive the machine and watch the voltage.
- If voltage tanks (e.g., 25V drops to 18V), the battery has a bad cell.
- If controller voltage drops hard but battery voltage stays high, you have high resistance in the circuit (corroded or loose cable).
- Inspect Connections: Check every power connection from battery posts to controller terminals for corrosion or looseness. Refer to your specific service manual for torque values—do not overtighten.
- Test Main Contactor: If battery and cables are good, the contactor is next. With a drive command given, it should "clunk" shut. Measure voltage across its output terminals. A big drop means it has failed.
Take the EP LVE35 electric forklift, for example. Over 40% of its 28 fault codes are tied to electrical connections and battery health.
How To Diagnose Motor and Brake Circuit Codes (F6, F3 Series)
If the machine powers up but won't move an inch, or the brake is locked on, you have a motor or brake circuit fault (F6 and F3 series). An F6.1 (Motor Short) means the controller sees a low resistance path (e.g., winding shorted to case). An F6.2 (Motor Open) means an open circuit (e.g., worn-out brushes). An F3.4 (Brake Off Fault) points to a failed brake coil or wiring.
<iframe width="100%" style="aspect-ratio: 16 / 9;" src="https://www.youtube.com/embed/tsJUuLu1cw0" frameborder="0" allow="autoplay; encrypted-media" allowfullscreen></iframe>To Diagnose Motor/Brake Faults:
- Safety First: Disconnect battery, chock wheels, verify 0V.
- Isolate Circuits: Unplug the main motor cables and brake connector from the controller.
- Test Motor For Shorts To Frame: Multimeter on Ohms (Ω). One probe on machine frame, the other on each motor terminal. You should see an open circuit (OL). Any continuity reading means a short.
- Measure Motor Winding Resistance: Measure between motor windings (F1 to F2, A1 to A2). The reading should be very low, less than 1 Ohm. If you see OL, you have an open circuit, likely bad brushes.
- Test Electromagnetic Brake Coil: Put meter probes on the two pins of the brake coil connector. Look for a specific resistance, usually 20-50 Ohms. OL (open) or near 0 Ohms (short) means the brake coil is toast.
For a deeper dive, you can explore EP's technical PDFs on Powerglide error codes. If you're dealing with more complex diagnostic challenges, our guide on EP Equipment LXE50 fault codes may provide additional help.
The Part You Need
You’ve found the problem. Now the real enemy is the 6-8 week lead time from an overseas dealer. Downtime is the villain, and every day your machine is dead costs you money. You need a domestic source for parts.
China Lift Supply stocks these specific EP components—contactors, throttle pots, brake assemblies—in our US warehouse. We can get you the part to fix the machine without the dealer lead time. This turns a two-month nightmare into a two-day repair.
Final Checks & System Test
After installing the new component, plug your diagnostic tool in and actively clear all fault codes. This gives you a clean slate. Then, perform a full operational test in a safe, open area.
- Power On: Listen for the normal sequence of clicks.
- Forward/Reverse: Ease into travel, checking for smooth acceleration.
- Lift/Lower: Run the hydraulics through a full cycle.
- Braking: Ensure the electromagnetic brake engages and disengages properly.
Note: Components may vary by Gen 1 vs Gen 2 series. Verify with your parts manual before ordering.
Common Questions About EP Controller Codes
Can I Just Disconnect the Battery to Clear a Fault Code?
Yes, but it's not a fix. It's a temporary reset. If the root cause—a chafed wire, a faulty sensor—is still there, the code will come right back. It's like hitting snooze on an alarm clock.
My Controller is Flashing a Light, Not Showing a Code. What Does That Mean?
On simpler models without a display, the controller uses a flashing LED. A specific pattern (e.g., three quick flashes, pause, repeat) corresponds to a fault code. You must have the correct service manual to translate those flash counts.
Do I Really Need Special Software?
Not always. A good tech with a quality multimeter can solve most common electrical faults. However, for intermittent or complex problems, the diagnostic software is invaluable. It lets you see historical logs and real-time sensor data that a meter can't.
Can't wait 6 weeks for this part? We have it on the shelf in Kansas. Check the price and availability here: China Lift Supply Parts.