Symptoms & Identification
Before you grab a wrench, confirm the machine's behavior matches a joystick failure. If the operator reports any of these, you're on the right track:
- No Drive or Lift Function: The machine powers on, but the joystick does nothing.
- Jerky or Erratic Movement: Drive and lift functions are unpredictable and not smooth.
- Functions Work in One Direction Only: The machine will drive forward but not reverse, or lift but not lower.
- Machine Creeps When Idle: The lift moves slightly even when the joystick is in the neutral position.
Tools Required
- Metric Socket Set: Specifically an 8mm and 10mm socket.
- Small Flathead Screwdriver: For releasing electrical connector locking tabs.
- Multimeter: To verify power and ground at the connector if needed.
- Zip Ties: For clean cable management after installation.
Safety Warning
CRITICAL: Lockout/Tagout is non-negotiable. Disconnect the negative battery terminal and tag out the machine. Always chock the wheels securely. Disconnecting the controller on some models can release the electric brakes, creating a roll-away hazard.
The Technical Guide
Swapping a joystick isn't rocket science, but following a clear process prevents mistakes. The procedure is nearly identical for Dingli, LGMG, or Sinoboom models; the only common variable is the type of electrical connector.
Step 1: Access and Document the Old Joystick
- Open the Control Box: Use your 8mm or 10mm socket to remove the screws holding the upper control box lid.
- Document the Wiring: Before unplugging anything, take a clear photo of the wiring harness and connectors with your phone. This is your insurance against mix-ups.
- Disconnect the Harness: Gently press the locking tab on the main connector with a small screwdriver and pull it from the joystick's base. Never force it; brittle plastic can snap.
Shop Talk: I can't say it enough—take the photo. I’ve seen seasoned techs get distracted and waste an hour trying to remember if the green wire went to pin 3 or pin 4. A five-second photo saves you that pain every time.
Step 2: Remove the Old Joystick Assembly
With the wiring disconnected, the mechanical removal is simple.
- Unbolt the Joystick: Use a 10mm socket to remove the four mounting bolts from underneath the control panel.
- Lift the Assembly Out: The entire joystick assembly should lift straight out.
- Clean the Mounting Surface: Wipe down the area to ensure the new joystick sits flush and secure.
Step 3: Install and Connect the New Joystick
Installation is the reverse of removal, with attention to detail.
- Position the New Joystick: Set the new assembly into the opening. The mounting holes are offset, so it only fits one way.
- Hand-Tighten Bolts: Start all four mounting bolts by hand to prevent cross-threading.
- Torque to Spec: Refer to your specific service manual for torque values—do not overtighten. Overtightening can crack the joystick's plastic housing. If no spec is available, snug the bolts then give a final quarter-turn.
- Connect the Harness: Plug the new joystick’s harness into the machine’s connector until you hear and feel a solid click.

Step 4: Handle Connector Variations
The main curveball you’ll face is the connector. Knowing what you're looking at is critical.
- 4-Pin Connectors: Found on older, non-CAN-Bus machines. They carry power, ground, and two signal wires for X/Y axis control.
- 8-Pin CAN-Bus Connectors: These Deutsche-style connectors are standard on modern Sinoboom, LGMG, and Dingli lifts. They carry power, ground, CAN High, and CAN Low signals.
Note: Components may vary by Gen 1 vs Gen 2 series. Verify with your parts manual. You cannot use a CAN-Bus joystick on a non-CAN machine or vice versa.
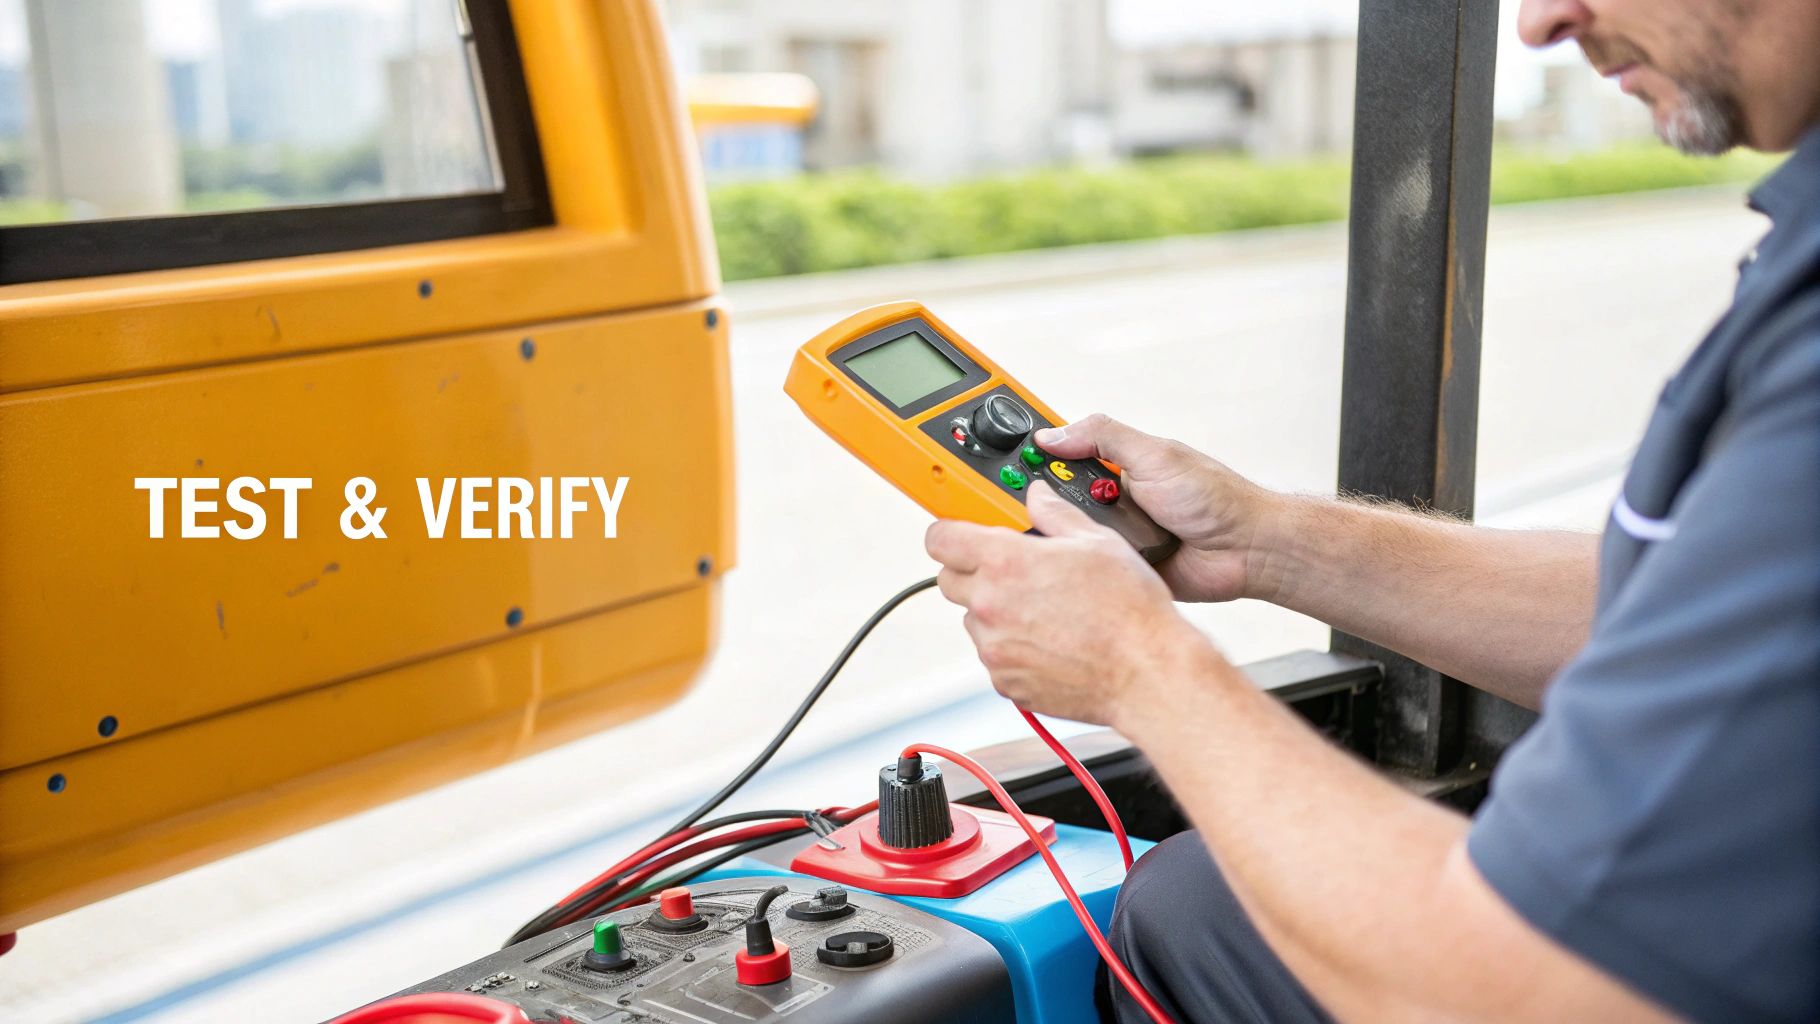
Step 5: Final Function Test
With everything connected, it's time to verify the repair.
- Reconnect Power: Reconnect the negative battery terminal.
- Power Up: Turn the key at the ground controls, then switch to platform control.
- Test All Functions: Methodically test drive forward/reverse, steer left/right, and lift up/down. Ensure movements are smooth and responsive.
- Check for Faults: Watch the display for new fault codes. A new code may indicate an incompatibility or that a calibration is needed.
- Close Up: Once confirmed working, power down and secure the control box lid.
The Part You Need
You've done the diagnosis; now you're facing the real enemy: downtime. Calling the dealer for a joystick often means a 6-8 week lead time from an overseas factory. That's two months of a machine sitting dead in the water.
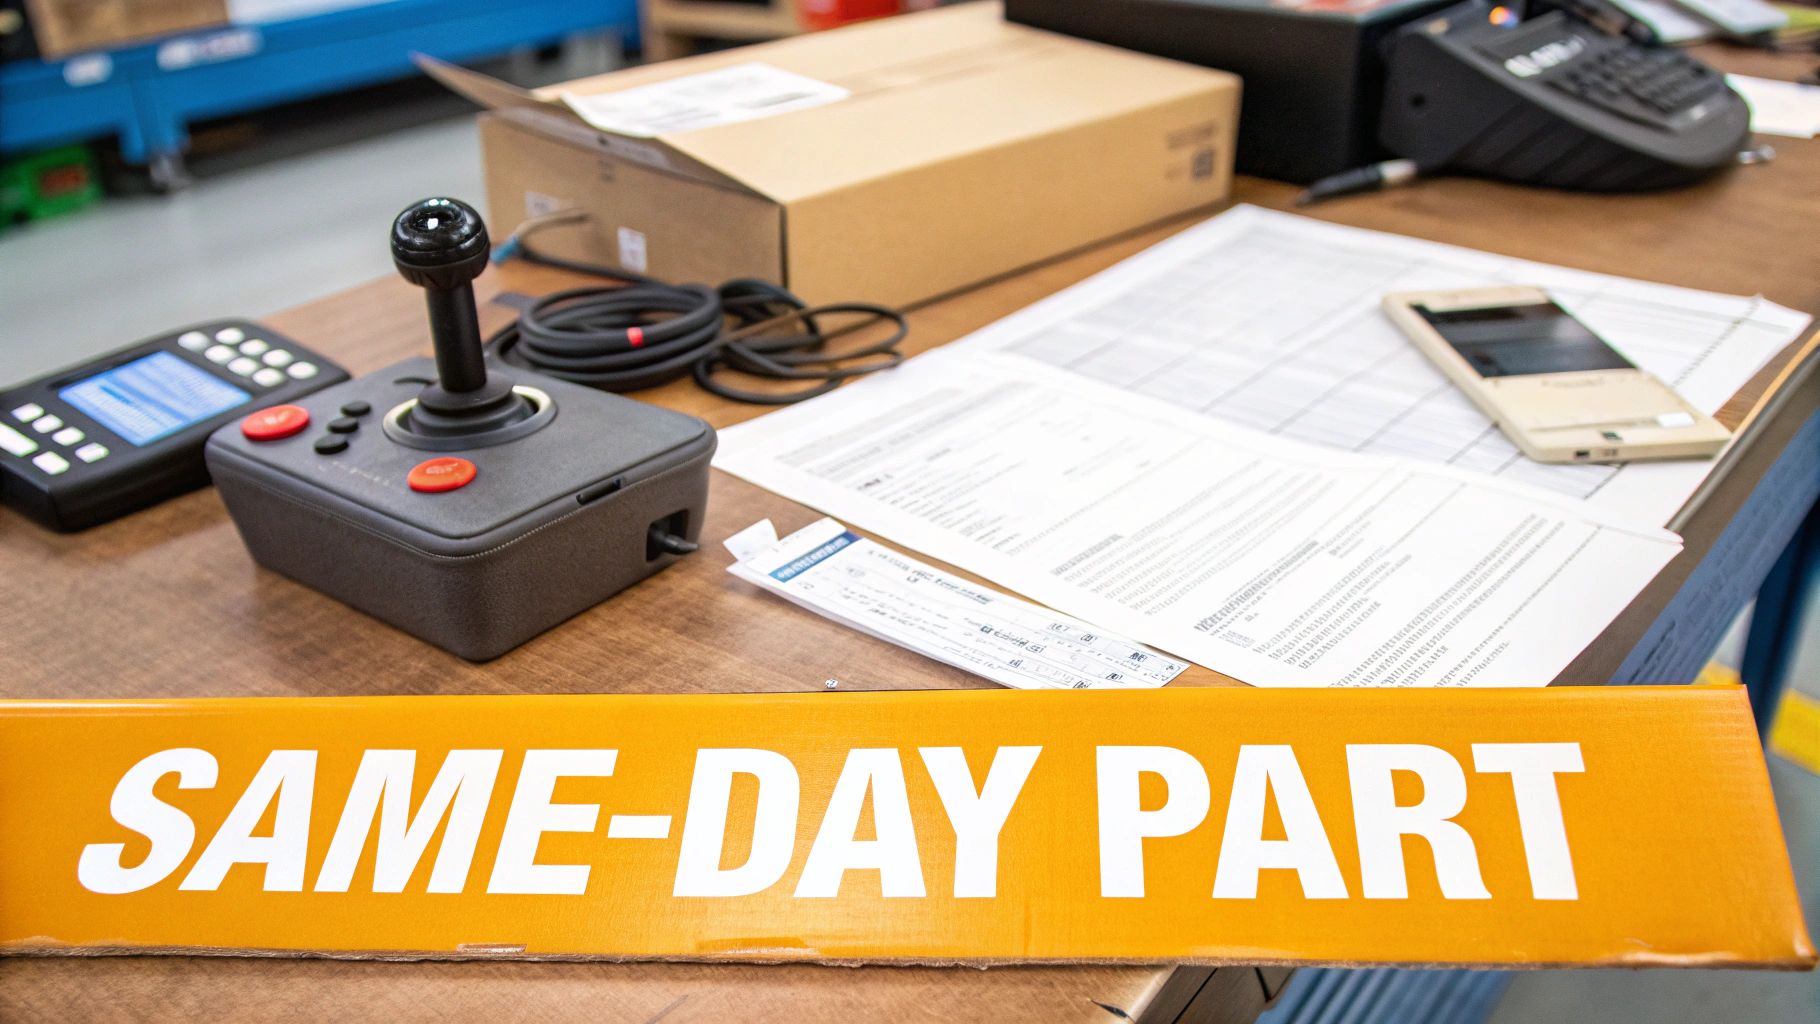
This is the exact problem we solve. China Lift Supply stocks this specific part (or a Universal equivalent) in the US to avoid the 6-week dealer lead time. We stock direct-fit and universal joysticks in our Kansas warehouse. An order placed today ships today, turning a 6-week delay into a 2-day delivery.
The Quick Part Finder on our website eliminates guesswork. Enter your machine's make and model, and it instantly shows the guaranteed-fit, OEM-compatible joystick you need. For more technical guides and resources or our full lineup of joysticks and control system parts, we have you covered.
Post-Installation Troubleshooting
Installed the new part and it’s still not working right? It's usually a simple oversight. Work the problem methodically.
Symptom: No Power To The New Joystick
- Check the E-Stop: Ensure E-stop buttons at ground and platform controls are pulled out.
- Verify Power at the Connector: With the machine on, use a multimeter to back-probe the joystick connector. You should see 24V or 48V. If not, the issue is upstream in the machine's wiring.
- Inspect Fuses: A momentary short during installation can pop a control fuse. Check the fuse block.
Symptom: Functions Are Reversed
This is a classic pinout mismatch between the new joystick and the machine harness. Refer to the photo you took of the original wiring. You may need to de-pin the connector and move wires to their correct positions.
Symptom: Machine Throws A New Fault Code
This is common on modern CAN-Bus machines (Sinoboom, LGMG). It means one of two things:
- Incompatibility: The new joystick's software protocol doesn't match the machine's ECU.
- Calibration Needed: The ECU needs to learn the new joystick's neutral position and range of motion. This procedure is a required step in the service manual and is essential for proper operation.
For more detailed diagnostic help, see our other troubleshooting steps for Chinese lift systems.
Can't wait 6 weeks for this part? We have it on the shelf in Kansas. Check the price and availability here: [Link Placeholder].