Symptoms & Identification
If your machine is down because it won't charge, you'll see one of these classic symptoms. This confirms you're looking at a failed charger and a replacement is your next move.
- No Lights, No Charge: The charger's status lights are dead, even when plugged into a known-good AC outlet. The machine's batteries don't charge.
- Flashing Error Codes: The charger shows a repeating red or amber flash sequence that won't clear with a power cycle. This means the internal diagnostics have found a non-recoverable fault.
- Charging Starts, Then Stops: The charge cycle kicks on but cuts out before the batteries are full. A component inside can't regulate voltage or current correctly.
- Humming/Buzzing Noise: You hear an electrical hum from the charger, but no charge is being delivered. This is usually a failing transformer or capacitor.
Tools Required
- Metric Socket & Wrench Set (especially 10mm & 13mm)
- Wire Strippers & Crimpers (for ring terminals)
- Multimeter
- Safety Glasses
- Terminal Brush
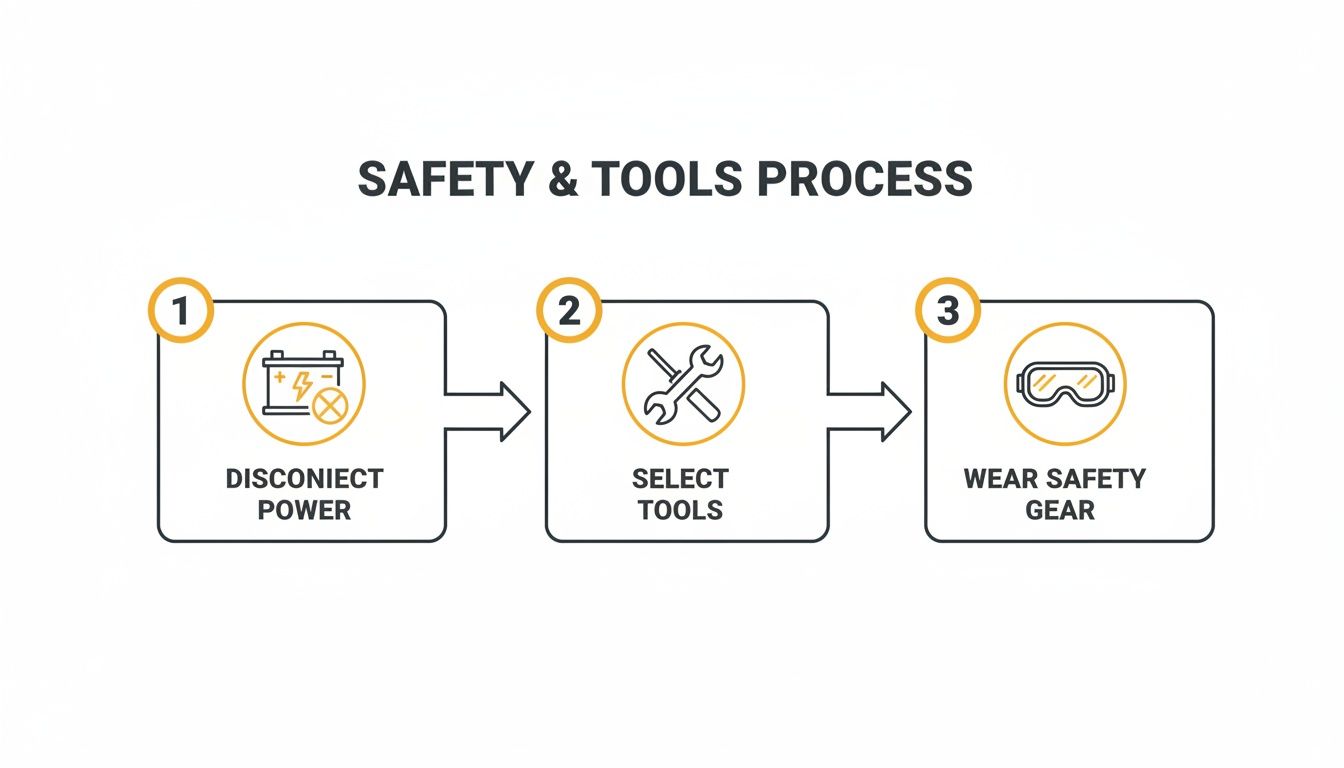
Safety Warning
Disconnect the main negative battery terminal first. A 24V battery pack has enough amperage to create a dangerous arc flash or weld a tool to the frame if you short a terminal to the chassis. This is not optional.
The Technical Guide: Step-by-Step Replacement
1. Confirm the Charger Is the Real Problem
Before you order a new charger, do these two quick tests to make sure you're not chasing the wrong issue.
- Test AC Input: Set your multimeter to AC voltage. Confirm you have 110V-120V AC at the wall outlet and at the end of the machine's power cord. A bad cord or dead outlet will mimic a bad charger.
- Test Battery Voltage: Set your multimeter to DC voltage. Check the battery pack's main positive and negative terminals. For a 24V system (four 6V batteries), the open-circuit voltage should be above 21V. If it's below 20V, you have dead cells, and the charger is correctly refusing to charge a failed pack. A new charger won't fix dead batteries.
Once you've confirmed good AC power and a healthy battery pack, you can condemn the charger.
<iframe width="100%" style="aspect-ratio: 16 / 9;" src="https://www.youtube.com/embed/oIBD4wWLIOg" frameborder="0" allow="autoplay; encrypted-media" allowfullscreen></iframe>2. Remove the Old Charger
With the main negative battery terminal safely disconnected, it's time to pull the failed unit.
- Disconnect DC Leads: Use a 13mm wrench to remove the red (+) and black (-) ring terminals from the charger's posts.
- Unplug AC Input: Unplug the AC cord from the receptacle on the charger.
- Unbolt the Charger: Use a 10mm or 13mm socket to remove the four mounting bolts. Lift the old unit out.
3. Install the New Charger and Wire It Up
Clean the mounting surface before dropping the new charger in. A clean surface helps with heat dissipation.
- Mount the New Unit: Place the new charger and hand-tighten all four mounting bolts to ensure alignment, then snug them down. Refer to your specific service manual for torque values—do not overtighten.
- Prep and Crimp Wires: If the new charger has bare leads, strip about a half-inch of wire. Crimp on new, correctly-sized ring terminals. Use a proper crimping tool and give it a tug test—a loose crimp will cause problems.
- Connect DC Power: This is critical. Connect the red wire to the positive (+) terminal and the black wire to the negative (-) terminal. Double-check this. Reversing polarity will instantly destroy the new charger.
- Connect AC Power & Interlock: Plug the AC cord in. Connect the interlock wire (often grey, orange, or purple) to its terminal. This is the safety wire that prevents the machine from driving while plugged in. Do not skip this connection.
4. Understand the Wiring Pinout
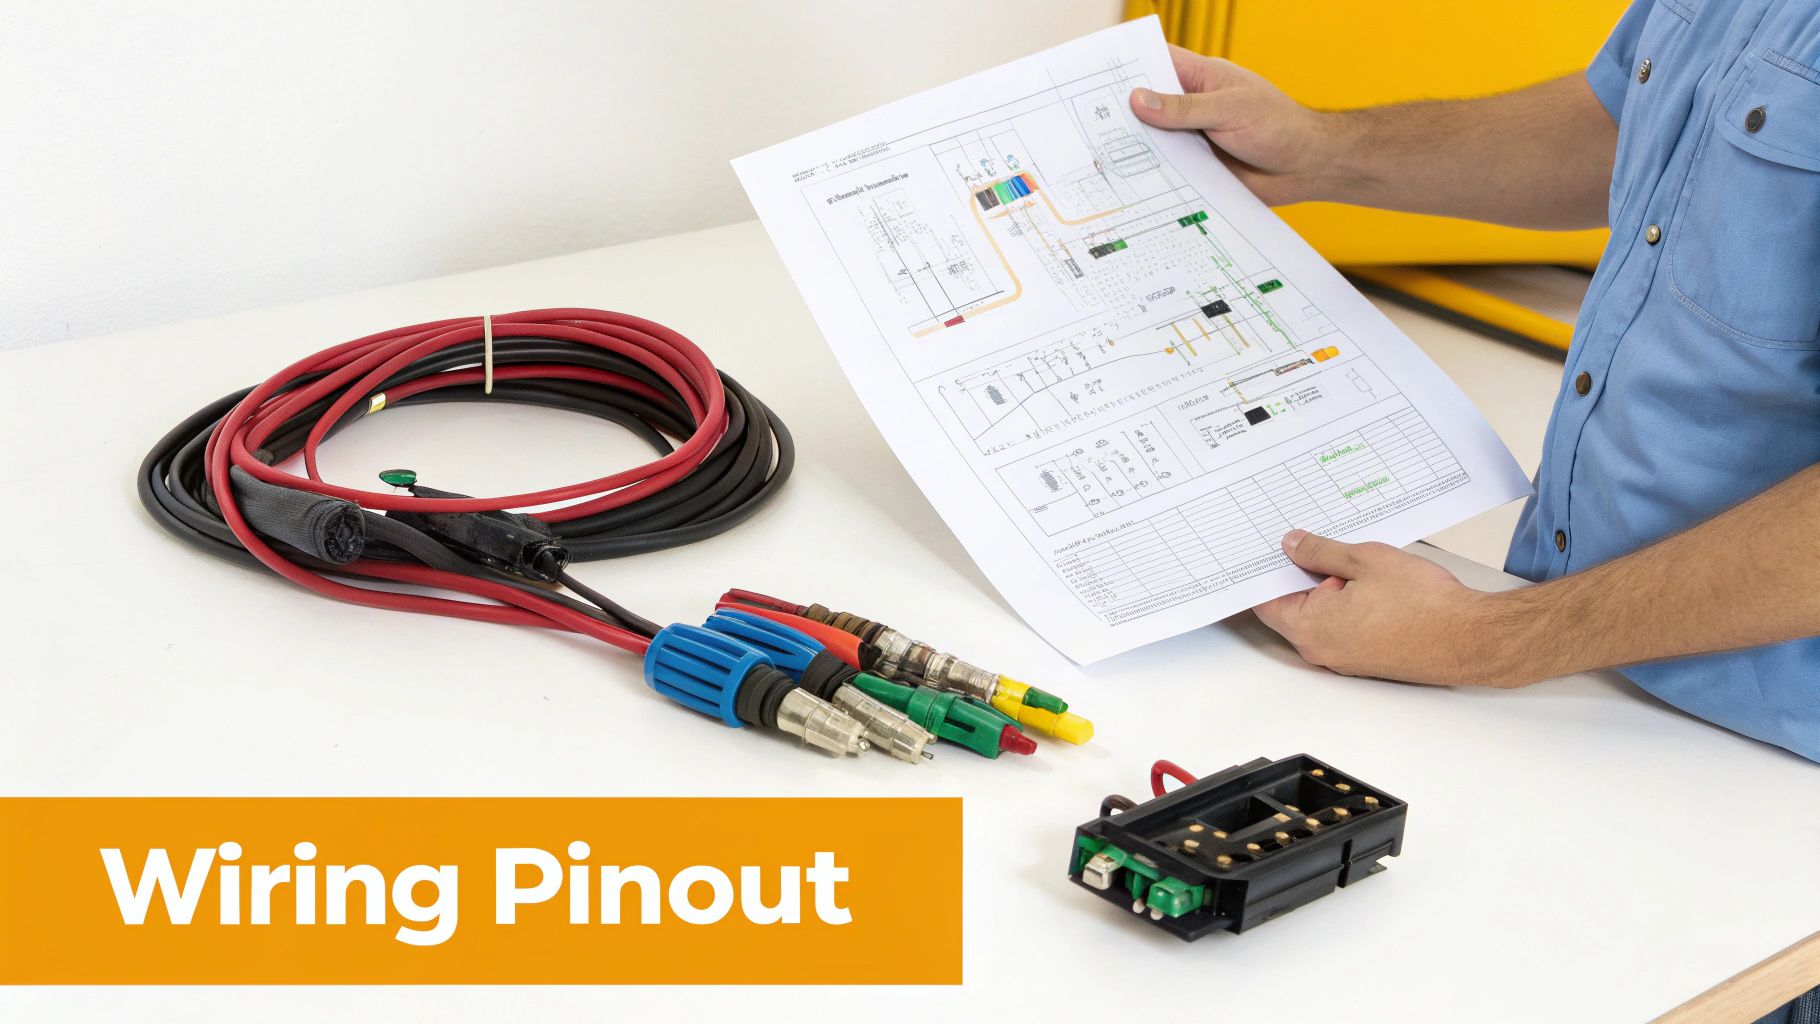
Messed-up wiring will fry your new charger or the machine's controller. Here is the standard pinout for Dingli JCPT models. Note: Components may vary by Gen 1 vs Gen 2 series. Verify with your parts manual.
| Connection Type | Typical Wire Color | Function & Notes | | :--- | :--- | :--- | | DC Positive | Red | The main charging wire. Connects charger (+) to battery pack (+). Verify polarity before connecting. | | DC Negative | Black | The main return path. Connects charger (-) to battery pack (-). Critical for completing the circuit. | | AC Line (Hot) | Black | The primary 120V AC power feed from the wall outlet to the charger. | | AC Neutral | White | The return path for the AC circuit. | | AC Ground | Green | Safety ground. Bonds the charger's chassis to earth ground to prevent electrical shock. | | Interlock | Grey, Orange, or Purple | Safety signal wire. Disables machine functions when the charger is plugged in. Do not bypass this wire. |
5. Post-Installation Checks and Testing
The job isn't done yet. Verify your work.
- Reconnect the Battery: Reconnect the main negative battery terminal you removed first.
- Power Up: Plug the lift's AC cord into a 120V outlet. Watch the charger's lights. You should see a self-test sequence, then it should settle into its main charging mode (usually a slow green flash or solid green light).
- Verify Output: With the machine charging, set your multimeter to DC voltage. Check the battery terminals. You should see a voltage between 26V and 28.5V DC, which confirms the charger is pushing current.
- Test the Interlock: While still plugged in, try to drive or lift the machine. It must not move. If it does, the interlock wire is not connected correctly. Fix it immediately.
The Part You Need
The Dingli JCPT scissor lift runs on a 24-volt DC system. For North American rental fleets, a high-efficiency charger like the DL-00002380 or the DL-00000689 has become the go-to replacement. You can find more detailed specs in technical documents like this one for the Dingli JCPT1612.
The dealer will tell you it's a 6-week wait from China. China Lift Supply stocks compatible chargers in the US to avoid that lead time. We have OEM and OEM-compatible electrical parts ready for same-day shipping. If you're working on a Dingli JCPT0607A, our detailed troubleshooting guide may also be useful. For more on battery health, see this deep-dive on proper charging.
Can't wait 6 weeks for this part? We have it on the shelf in Kansas. Check the price and availability here: China Lift Supply.