
If your Zoomlion lift is screaming a tilt alarm on perfectly level ground or refuses to lift, its zero point is off. The ECU thinks it's on an unsafe slope and is locking everything out. This guide gives you the direct, field-tested steps to recalibrate the Zoomlion tilt sensor and get your machine back on the job.
The Quick Diagnosis
A false tilt alarm is a common issue caused by job site vibration or jolts throwing off the sensor's "level" setting. The sensor is rarely broken; it just needs to be re-taught what zero degrees is. The fix is a 15-minute recalibration, not a part replacement.
Symptoms of a Miscalibrated Tilt Sensor
This isn't a subtle problem. Here’s what the operator sees when the tilt sensor calibration is off:
- Constant Alarms: A piercing alarm sounds from the platform and ground controls, with a flashing tilt indicator light.
- Function Lockout: The machine will not raise the platform. Depending on the model, drive functions may also be disabled. This is the ECU's safety interlock engaging to prevent a perceived tip-over.
- Specific Fault Code: The ground control module's LCD screen displays a tilt-related fault code (e.g., F0403, F0404), confirming the lockout's source.
If this matches what you're seeing, you're in the right place. For other issues, check our Zoomlion troubleshooting guides.

Tools Required
- Digital Inclinometer: Non-negotiable. Must be accurate to at least 0.1 degrees. Your phone app is not accurate enough for this.
- Metric Wrench/Socket Set: A 10mm or 13mm is common for the sensor mounting bracket.
- Diagnostic Laptop: Optional, but may be required for newer CAN-Bus models to access the calibration menu.
Safety Warning
Mechanic's Warning: You are temporarily adjusting the machine's primary stability safeguard. Perform this calibration on a verified level surface (concrete shop floor is ideal). Calibrating on an unlevel surface bakes the error right into the system, and you'll be doing this again next week. Chock the wheels and establish a safe work zone. No personnel in the platform during this procedure.
The Technical Guide: Pre-Calibration Checks
Jumping straight to calibration is a rookie mistake. A faulty reading is often a symptom, not the root cause. Take five minutes to check these first.
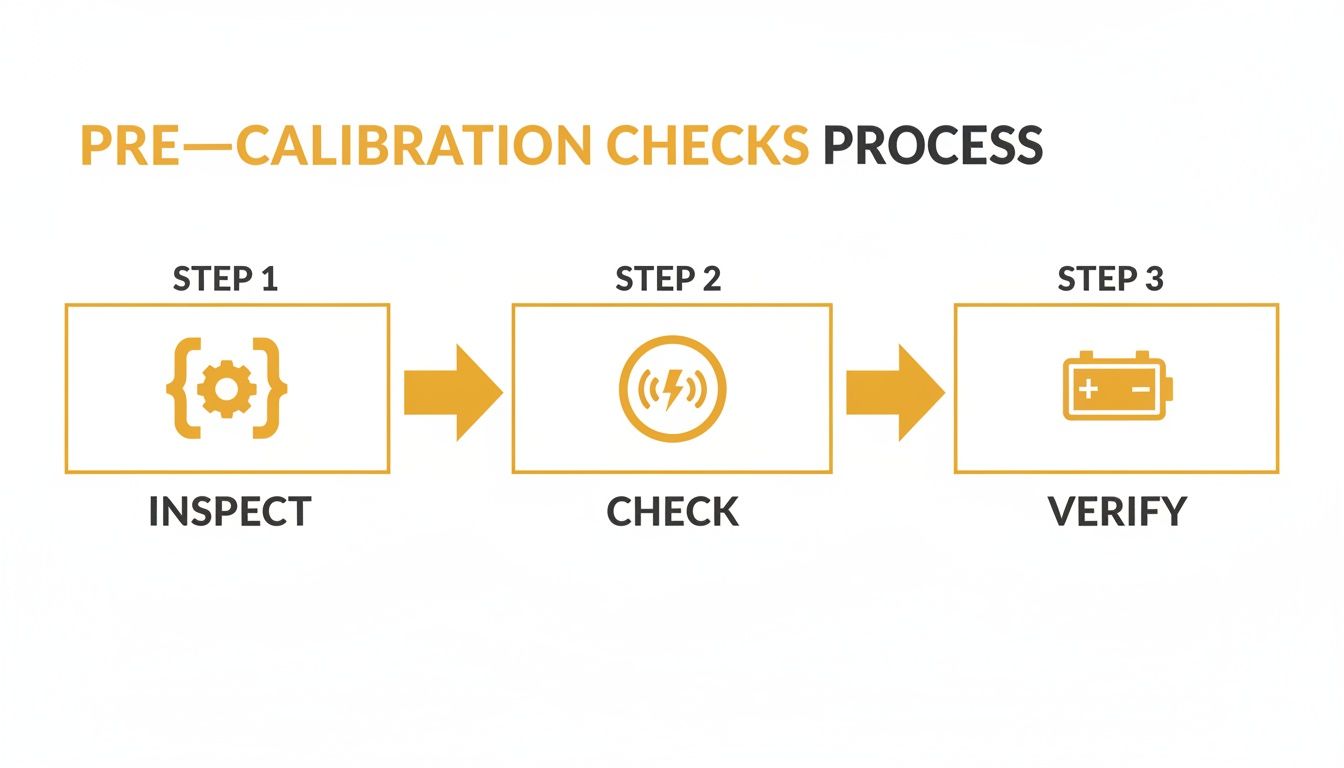
Physical Inspection
Get eyes on the tilt sensor, usually a small box mounted to the chassis.
- Mounting Bracket: Check if it's bent, cracked, or loose. Any play will cause false readings.
- Debris: Clean off any packed-in mud or job site gunk that could interfere with the sensor's position.
- Wiring Harness: Inspect the wiring for chafing, cuts, or pinch points. Check that the connector is fully seated and free of corrosion. I've fixed more "failed" sensors with a zip tie and contact cleaner than I can count.
Electrical System Verification
Weak batteries cause bizarre electronic behavior that mimics sensor failure.
- Battery Voltage: Check the static voltage of the battery pack.
- Specific Gravity (Lead-Acid): Use a hydrometer. A healthy cell should read around 1.277 at 26.7°C (80°F). Readings below 1.225 indicate a charging issue or a failing battery.
For detailed diagrams, always refer to the official service and maintenance manuals.
Step-by-Step: Calibrating a Scissor Lift (ZS1930E, ZS1530E)
This process teaches the ECU what true zero-degree level is. This is performed entirely from the ground controls on verified level ground. Note: Components may vary by Gen 1 vs Gen 2 series. Verify with your parts manual.
- Position the Machine: Turn the key switch to ground control and ensure the emergency stop is pulled out.
- Raise the Platform: Using the ground controls, raise the platform to about 2.4 meters (8 feet). This is required to enter calibration mode on many models.
- Access Calibration Mode: Hold down the function enable and lift down buttons simultaneously for about five seconds. A buzzer or change on the display will confirm you are in the menu.
- Set the Zero Point: Place your digital inclinometer on a designated level spot on the chassis, typically a machined surface near the sensor mount.
- Adjust the Sensor: If the inclinometer reads anything other than 0.0°, slightly loosen the sensor's mounting bolts. Slowly rotate the sensor housing until the level reads exactly 0.0°.
- Save the New Setting: Press the lift up button once. The machine will beep or flash to confirm the new zero point is saved.
- Secure the Sensor: Carefully re-tighten the mounting bolts without moving the sensor. Refer to your specific service manual for torque values—do not overtighten and risk cracking the housing.
- Verify: Cycle the power off and on, then test all functions to ensure the alarm is cleared.
For more specs on popular scissor lifts, you can reference the official service manuals.
Step-by-Step: Adjusting a Boom Lift (ZT26J)
Calibrating a boom lift is a different ballgame. The stakes are higher with an extended boom, so precision is critical. This procedure is performed with the boom fully stowed on a level surface.
<iframe width="100%" style="aspect-ratio: 16 / 9;" src="https://www.youtube.com/embed/Hdhkpcwzo-M" frameborder="0" allow="autoplay; encrypted-media" allowfullscreen></iframe>- Enter Diagnostic Mode: Turn the key to ground control and hold the function select button for five seconds. A beep or display change confirms you are in the diagnostic menu.
- Zero the Chassis Sensor: Place your digital protractor on the designated level point on the chassis. It must read 0.0°. Navigate the menu to the chassis calibration setting and save this new zero point. Do not proceed until this is done.
- Calibrate the Platform Sensor (If Equipped): On newer models with a second sensor in the platform, the menu will prompt you to zero it next. The process is the same: confirm physical level, then save the setting.
- Verify the Fix: A successful calibration isn't done until you've tested it. Place a 2-inch block under the wheels on one side to create a slight grade. Slowly raise the boom and confirm the tilt alarm activates at the manufacturer-specified angle (typically 2-3 degrees). If it doesn't, restart the process.
For a deeper dive, check out our other boom lift technical guides.
When to Replace the Sensor
Sometimes, calibration won't stick. If the alarm returns after a few hours, or if sensor readings are erratic and won't lock in a stable zero, the sensor itself has failed internally. Vibration or moisture has likely compromised the electronics.
| Symptom | Try Recalibration First If... | Replace the Sensor If... | | :--- | :--- | :--- | | Intermittent Alarms | Alarms occur only at full extension or on a slight slope. | Alarms are random, happening even when parked on level concrete. | | Calibration Fails | Calibration completes but drifts out of spec after a few hours. | Sensor readings are erratic, making it impossible to complete calibration. | | No Response | Sensor is stuck at a fixed, incorrect value (e.g., 3 degrees). | ECU shows a "sensor communication error" or no data from the sensor. | | Physical Damage | Housing has minor scuffs but is intact and connections are clean. | You see cracks in the housing, signs of water intrusion, or impact damage. |
The Part You Need
A failed tilt sensor means a dead machine. Calling the dealer often means a 6-8 week lead time from China, which is a non-starter. You're losing money every day that lift sits idle.
China Lift Supply stocks OEM-compatible Zoomlion tilt sensors in the US, ready for same-day shipping. Get the exact part you need without the dealer wait.
Can't wait 6 weeks for this part? We have it on the shelf in Kansas. Check the price and availability here: Get Your Zoomlion Tilt Sensor Now.
Frequently Asked Questions
How often should I calibrate the tilt sensor?
Only when you get a false alarm or a specific fault code. This is not a preventative maintenance task. Unnecessary calibration can introduce errors if not done perfectly. If it ain't broke, don't fix it.
Can I use a smartphone level app for this?
Absolutely not. A phone app is a consumer-grade tool, not a precision instrument. Using one for a critical safety system introduces a huge liability risk. A professional digital inclinometer accurate to 0.1 degrees is the only way to do this job correctly and safely.
What should an operator do if the alarm goes off on a job site?
Immediately stop all functions, safely lower the platform to the stowed position, and move the machine to firm, level ground before calling a technician.
Can't wait 6 weeks for this part? We have it on the shelf in Kansas. Check the price and availability here: https://www.chinaliftsupply.com.