If your Dingli JCPT won't take a charge and the charger is flashing codes, your problem is likely one of three things: the batteries have dropped below the minimum voltage, the onboard charger has failed, or the main power contactor is fried. A flashing LED code is the machine telling you exactly where the fault is.
The Quick Diagnosis
A Dingli scissor lift that won't charge is a machine that's costing you money. Before you start tearing into the wiring, the root cause is usually simple. The batteries have likely dropped below the charger's minimum voltage cutoff, the onboard charger has failed, or the main power contactor is blocking the current. Always check your AC power source first—plug a drill into the same extension cord to confirm it's live.
Symptoms & Identification
Confirm you're on the right track by checking what the machine is doing. If you see any of these signs, this guide is for you.
- Specific LED Fault Codes: A flashing red or alternating red/green light is a specific code telling you what's wrong.
- No LED Lights at All: This means no AC power is reaching the charger, or the charger itself has completely failed.
- Charger Fan Doesn't Start: The cooling fan should kick on immediately when a charge cycle begins. Silence points to a power issue.
- Battery Gauge Doesn't Move: You plug the machine in overnight and the battery gauge is in the same spot the next morning. No current is reaching the batteries.
Tools Required
- Quality Digital Multimeter (e.g., Fluke)
- Battery Hydrometer (for flooded lead-acid batteries)
- Insulated Wrench and Socket Set
- Battery Terminal Wire Brush
- Safety Glasses and Gloves
Safety Warning
Disconnect the main negative battery terminal before testing fuses or replacing components. Working on a live high-amperage DC circuit can cause arcing that can weld tools and cause severe burns. Wear safety glasses and gloves, as battery acid is corrosive.
The Technical Guide: Step-by-Step Diagnosis
Finding The Failure Point Fast
The LED lights on the charger are your best diagnostic tool. In electric scissor lifts, charging issues are a top maintenance headache. For models like the Dingli JCPT1523RT and JCPT1418DC, charger LED code failures were noted in roughly 28% of service calls logged by major North American rental companies between 2020 and 2024. A steady green light means a healthy system. No green light means you start by looking for damaged cords or loose battery terminals, which account for a whopping 65% of all non-charging incidents.
This flowchart breaks down the diagnostic process, walking you from the wall outlet to the battery voltage test and finally to isolating the charger itself.
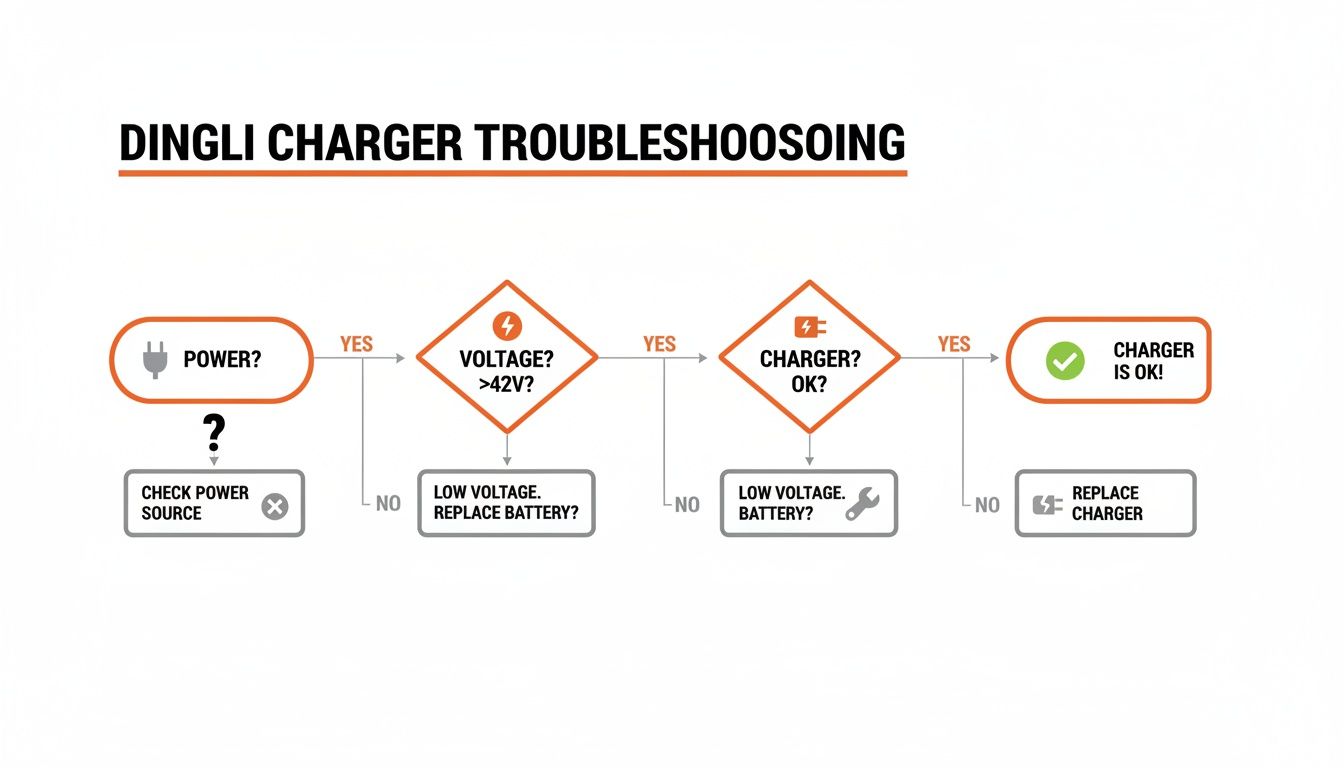
The key is to work from the simplest potential problem (power source) toward the most complex (internal components). This method saves time and prevents you from replacing a perfectly good charger.
Common Dingli Charger LED Codes And Their Meaning
The charger's blinking lights are a code. Here's a cheat sheet for the most common patterns.
| LED Code Pattern | Meaning | First Action Step | | :--- | :--- | :--- | | Flashing Green | Charging in progress. | No action needed. This is normal operation. | | Solid Green | Charge cycle complete. Battery is full. | Disconnect the charger. | | Flashing Red | Fault condition. Common causes: battery voltage too low/high, temperature out of range, or internal charger fault. | Check total battery pack voltage with a multimeter. | | Alternating Red/Green | Sulfation recovery mode or equalization charge. | Let the charger run. This can take several hours. | | No Lights at All | No AC power to the charger, or the charger has failed completely. | Verify AC power at the outlet and check the charge cord for damage. |
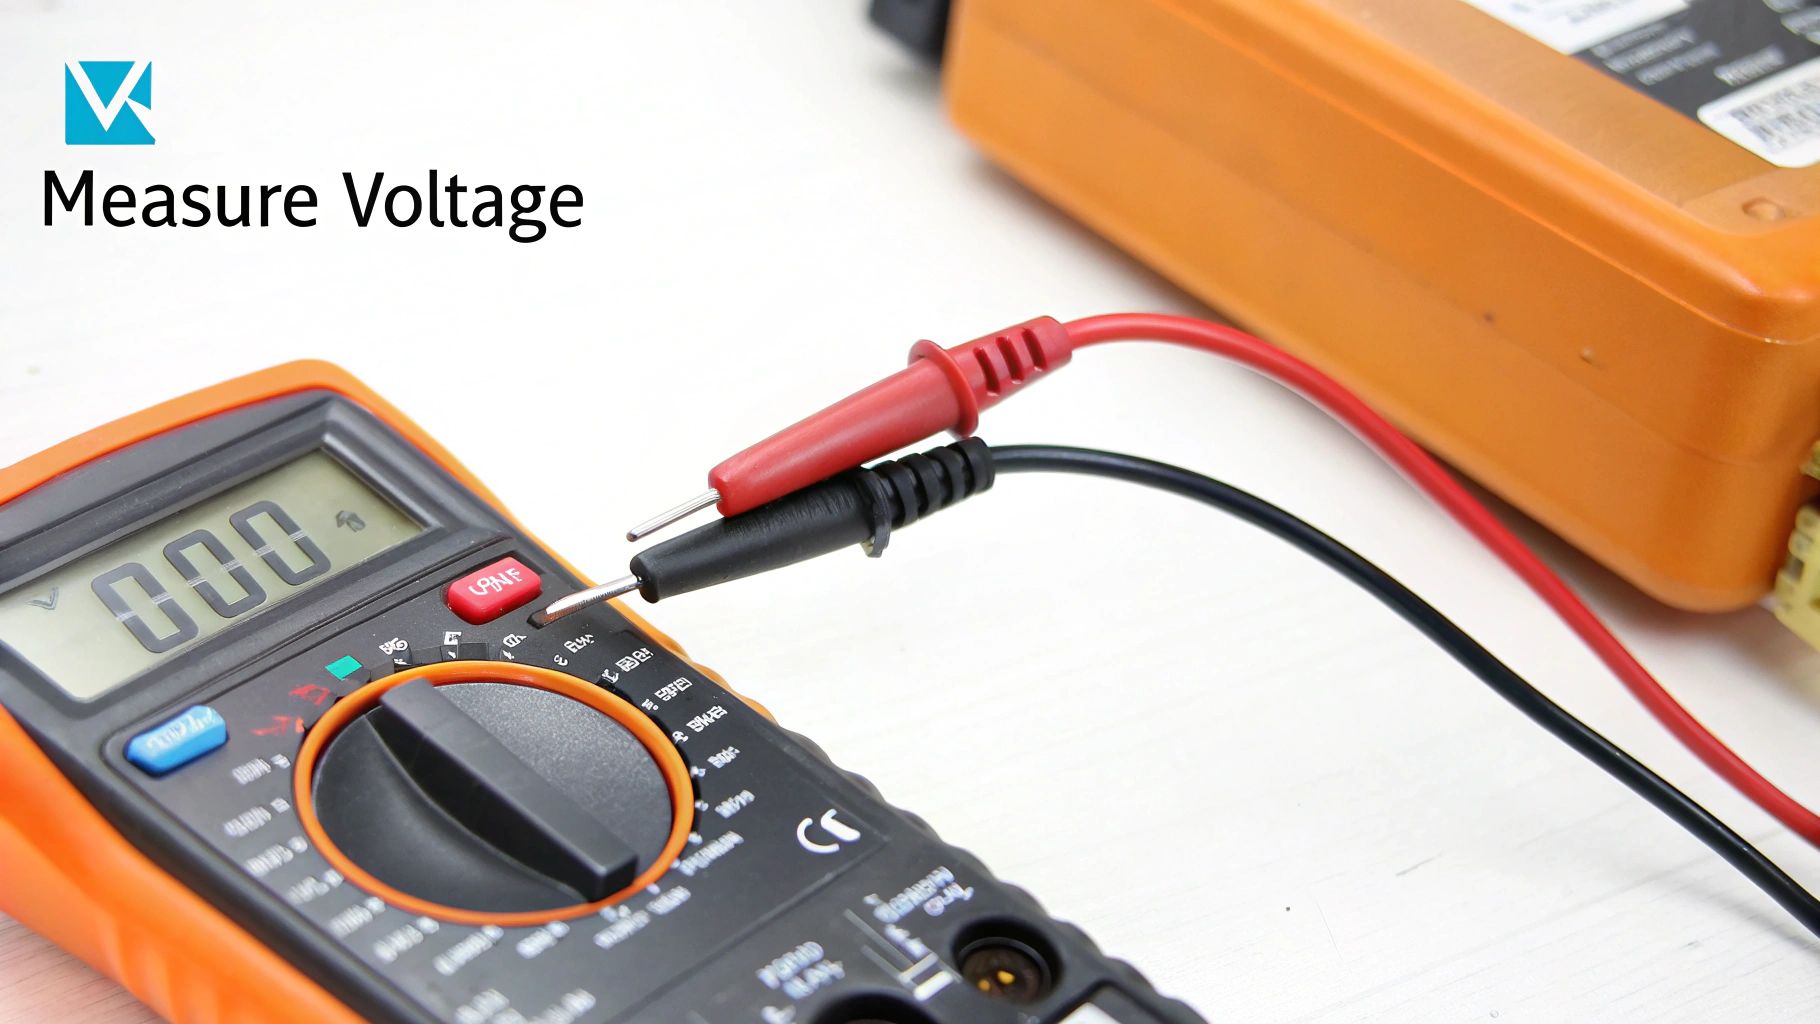
Your First Multimeter Test
Set your multimeter to DC voltage. Get probes on the main positive and negative terminals of the entire battery pack. For a 48V system (four 12V or eight 6V batteries), you must see a voltage reading above the charger's minimum cutoff, typically around 42V.
Shop Talk: If the pack voltage is in the 30s, the charger's safety circuit won't engage. To the charger, it's like no battery is connected. You may need to "wake up" the pack by charging batteries individually with a shop charger to get the total voltage back into a range the onboard unit recognizes.
This initial voltage check is non-negotiable. It instantly tells you whether you're chasing a battery problem or a component failure. For more detailed guides, check our other Dingli troubleshooting guides.
Confirming Symptoms
A machine that's down is lost money. The signs of a charging fault are obvious, but confirming them narrows down the cause before you open the battery bay.
Don't cheap out on your multimeter. A reliable, auto-ranging meter from a brand like Fluke gives accurate readings. Inaccurate voltage can send you down a rabbit hole, replacing good parts.
A Technical Guide To Diagnosing The Charging Circuit
Let's trace the power from the wall socket to the batteries. Being methodical stops you from just swapping parts.

1. Start At The Power Source: AC Input
Before touching the machine, check the power source. Plug a shop light or drill into the same outlet and extension cord. If it doesn't work, you've found your problem. Once you know the outlet is good, inspect the charging cord for cuts, kinks, or crushed sections. Check the plug for bent prongs or arcing (black marks).
2. Inspect DC Connections And Harnesses
Open the battery compartment and perform a visual inspection. Start at the charger's output terminals and follow the heavy-gauge wires to the battery pack. Hunt for:
- Corrosion: Fuzzy white or greenish buildup on terminals chokes off current.
- Loose Terminals: Grab each battery cable and give it a firm twist. Any movement is too much.
- Frayed or Damaged Wires: Look for insulation rubbed through or pinched wires.
Clean corroded terminals with a wire brush until they are bright lead. Tighten loose connections. Refer to your specific service manual for torque values—do not overtighten and snap the lead posts.
3. Test The Charger Output Directly
This is the moment of truth for the charger. Unplug the charger's main DC connector from the machine's wiring harness to isolate it.
Set your multimeter to DC Volts. Plug the charger into your known-good AC outlet. Carefully place your probes into the corresponding positive and negative sockets of the charger's output plug. For a 48V system, you should see a reading between 49V and 55V DC. If you get the correct voltage, the charger is likely good. If you get 0V or a very low reading, the charger has failed internally and needs replacement.
4. The All-Important Battery Load Test
Checking battery voltage at rest is a classic mistake. A weak battery pack can show a healthy "surface charge" but collapse under load. A proper load test is non-negotiable.
You need a dedicated battery load tester. Connect it to the main positive and negative terminals of the pack. A healthy 48V pack should maintain a voltage above 42-44V under load. If it plummets into the 30s, you have one or more dead cells.
Shop Floor Reality: This is the real culprit in many "won't charge" jobs. A deeply discharged or sulfated battery pack can't accept a charge. The fault code X066 'BATTERY LOW' is a frequent flier on Dingli JCPT charger LEDs when voltage drops. This single code triggers 35% of 'won't charge' service calls. Sulfation is a killer; bad charging habits can slash a battery's capacity by 22% per year.
If the pack fails, use a hydrometer to test each cell's specific gravity to pinpoint the exact battery to replace. Our guide for the Dingli JCPT0607A covers battery testing principles for the whole series.
5. Checking Fuses, Breakers, And Contactors
If the charger and batteries check out, the problem is in the safety circuit between them.
- Main Fuse/Circuit Breaker: Find the high-amperage fuse or breaker near the battery pack. If it's a breaker, try resetting it. To test a fuse, first, disconnect the main negative battery cable. Set your multimeter to continuity (the setting that beeps). A good fuse will beep. A blown fuse will show an open circuit (OL).
- Main Power Contactor: This heavy-duty relay connects battery power to the machine. The charger's current often passes through it. Testing it involves checking that its coil gets a signal to close and that the main posts have continuity when it does.
Charging Circuit Test Points And Expected Readings
Here's a quick-reference table for your multimeter tests for a typical 48V Dingli system.
| Test Point | Multimeter Setting | Expected Voltage (48V System) | Notes | | :-------------------------- | :----------------- | :---------------------------- | :---------------------------------------------------------------------- | | AC Wall Outlet | AC Volts | 110-120V AC | Confirms your power source is good before you touch the lift. | | Charger DC Output Plug | DC Volts | 49-55V DC | Test with the plug disconnected from the machine to isolate the charger. | | Battery Pack (No Load) | DC Volts | 48-51V DC | This is for a fully charged pack. Readings below 44V mean deep discharge. | | Battery Pack (Under Load) | DC Volts | > 44V DC | Use a dedicated load tester. A big drop points to a weak battery pack. | | Main Fuse | Continuity (Ω) | Should Beep / <1 Ohm | DISCONNECT BATTERIES FIRST. An open circuit (OL) means it's blown. |
Diving Deeper: Breakers, Contactors, and Advanced Faults
When the simple stuff checks out, it's time to dig into the protective components—circuit breakers or the main power contactor.
1. Hunting Down a Weak Circuit Breaker
Circuit breakers can be weak internally without looking tripped. When the charger pushes 20-25 amps, a worn breaker can heat up and trip, killing the charge, then reset itself after cooling down, creating an intermittent problem. The best check is by feel. Plug in the charger for 10-15 minutes. Carefully touch the main circuit breaker. If it's unusually hot, it’s struggling under load and needs to be replaced.
2. Testing the Main Power Contactor
The main contactor is a big switch connecting the battery pack to the machine. If it doesn't pull in or its internal contacts are burned, no charge current flows. Testing is a two-part mission:
- Check the Coil: The contactor uses a low-voltage (48V) coil to close the high-amperage contacts. Find the two small terminals. With the key on and charger plugged in, use your multimeter on DC Volts to check for power across these posts. You should see full pack voltage. No voltage means the contactor isn't getting the signal.
- Check the Main Posts: If the coil has power and you hear a "clunk," check the high-amperage side. FIRST, DISCONNECT BATTERY POWER. Set your meter to continuity. Probes across the two big posts should read open (OL). Reconnect power to activate the contactor, then disconnect power again before testing. Test the posts again. You should now have continuity (a beep). If you have voltage at the coil but no continuity across the posts, the contactor has failed internally.
3. What About ECU Communication Errors?
Sometimes the problem is in the machine's brain. Modern chargers communicate with the ECU. A broken link can halt the charge cycle. An error like X074 'DRIVER SHORTED' often points to a communication breakdown or a fault in the contactor's control circuit. Service data shows overload trips and errors like X074 are behind 22% of Dingli JCPT charging refusals. Shift focus from big power cables to small control wires. Check the harness between the charger, ECU, and main contactor for chafed wires or loose pins. For more on this, the official Dingli operation manuals are your best resource.
The Part You Need
<iframe width="100%" style="aspect-ratio: 16 / 9;" src="https://www.youtube.com/embed/k3hr4buIyxo" frameborder="0" allow="autoplay; encrypted-media" allowfullscreen></iframe>You’ve found the dead component. Now the clock is ticking. The biggest enemy is downtime created by waiting for a part to cross the ocean. Telling your boss it’ll be six to eight weeks for a part from the dealer is a career-limiting move.
Identifying The Correct Replacement Part
Before ordering, be certain you're getting the right part.
- Onboard Chargers: Match the voltage (48V is standard) and amperage (25A is common). Critically, check the plug type to ensure it fits.
- Contactors: The coil voltage must match your 48V system, and the continuous amperage rating must be correct. Never install an under-rated contactor.
- Circuit Breakers and Fuses: Match the amperage rating exactly. A higher-rated fuse is a fire hazard.
Note: Components may vary by Gen 1 vs Gen 2 series. Verify with your parts manual.
China Lift Supply stocks the specific OEM-compatible chargers, heavy-duty contactors, and breakers you need in the US to avoid the 6-week dealer lead time. Instead of waiting weeks, you get same-day shipping. That’s the difference between a machine being down for two days versus two months. You can find the right onboard charger in our full inventory of electric lift chargers.
Still Have Questions About Your Dingli Charger?
You've worked through the diagnostics, but something still isn't adding up. Let's tackle some common questions.
Can I Use a Regular Car Charger on My Scissor Lift Batteries?
No. A standard 12V automotive charger will severely undercharge a deep-cycle battery pack, leading to sulfation and permanent damage. You must use a "smart" industrial charger with the right voltage (48V) and a profile designed for deep-cycle use.
Why Do My Brand New Batteries Seem to Be Failing Already?
The problem is usually an incorrect charger profile or a poor "break-in" cycle.
- Charger Profile Mismatch: The onboard charger must be programmed for your exact battery type (flooded lead-acid vs. AGM). The wrong profile will cook or starve your new pack.
- Improper Initial Charging: New batteries need several deep charge-discharge cycles to reach full capacity. Those first 3-5 charge cycles are critical. Run the machine down to 50% state of charge, then give it a full, uninterrupted overnight charge.
Is It Okay to Leave the Scissor Lift Plugged in All the Time?
Mostly, yes. Modern smart chargers switch to a "float" or "maintenance" mode after charging is complete, which prevents overcharging. However, it’s better to run the lift every few weeks to put the charger through a full cycle and keep the batteries "exercised."
What’s That Rotten Egg Smell Near the Batteries?
That sulfur smell is hydrogen sulfide gas, a sign that one or more batteries are severely overcharging. The electrolyte is boiling away. This is dangerous, as the gas is flammable.
- Unplug the charger.
- Ventilate the area.
- Wear safety glasses and gloves.
- Carefully feel each battery for excessive heat. The culprit is almost always a failed cell. Find the bad battery and replace it immediately. Do not charge the machine again until this is fixed.
My Charger Just Clicks but Never Starts Charging. What's Going On?
A clicking sound from the main contactor without charging is a classic sign of low battery voltage. The contactor is trying to pull in but doesn't have enough power. If your multimeter shows the pack voltage is below the minimum threshold (around 42V for a 48V system), the charger's safety circuit won't engage. You'll need to "wake up" the pack by charging the batteries individually with a bench charger.
Can't wait 6 weeks for this part? We have it on the shelf in Kansas. Check the price and availability here: https://www.chinaliftsupply.com.