If your Zoomlion charger is flashing lights, it's giving you a fault code. A solid red light means undervoltage protection, likely because the battery pack has dropped below 20V. A blinking green and red light points to an overcharging fault, often caused by a bad battery temperature sensor. If you see no light at all, you've lost input power from a tripped breaker or a bad AC cord. This guide will get you from the LED status to the fix, fast.
The Quick Diagnosis
When your Zoomlion charger stops working, the LED lights are your first clue. These codes point to specific electrical faults, usually to protect the charger or batteries from damage. Before you start replacing parts, grab a multimeter. Checking AC input voltage and DC battery voltage will solve most problems immediately.
Symptoms & Identification
Let's confirm you're in the right place. What are you seeing on the shop floor?
- Charger has a solid red light and won't start the charge cycle.
- Charger is blinking green and red, but the battery pack gets hot.
- Charger has no lights at all, even when plugged in.
- Charger is humming, but the battery percentage isn't increasing.
- The battery never seems to reach 100% charge, even after 12+ hours.
If you're seeing any of these symptoms, this guide is for you.
Tools Required
- Digital Multimeter (with DC amp clamp function)
- Insulated socket and wrench set
- Battery terminal cleaning kit
- Laptop with manufacturer's diagnostic software (for newer models)

Safety Warning
The voltages inside these chargers can kill you. Always disconnect the charger from the AC wall outlet first, then disconnect the negative battery terminal before opening the housing. Chock the machine's wheels and set the park brake before starting work.
The Technical Guide (Step-by-Step)
Let's break down the most common faults and how to troubleshoot them.
Solid Red LED: Undervoltage Protection
A solid red light means the charger has entered undervoltage protection mode because the battery's voltage has dropped below the 20V safety threshold.
- Check the AC Power Source: Ensure the 220V AC supply cord is securely plugged in at both the wall and the charger. A loose connection is a common culprit.
- Test Battery Voltage: Use your multimeter to get a direct voltage reading at the battery terminals. If it's below the cutoff, you've confirmed the fault.
- Inspect Internals: With all power disconnected, open the charger housing. Look for burn marks or physical damage on the main fuse, transformer, or rectifier modules. A failed rectifier is the most common cause of a persistent undervoltage error.
You can learn more about common forklift charger faults from industry reports to see how these issues stack up.
Blinking Green-Red LED: Overcharging Fault
<iframe width="100%" style="aspect-ratio: 16 / 9;" src="https://www.youtube.com/embed/V0cyVnTTMBs" frameborder="0" allow="autoplay; encrypted-media" allowfullscreen></iframe>This blinking pattern indicates a dangerous overcharging condition, which can cook your batteries through gassing and plate corrosion. The cause is almost always a faulty battery temperature sensor.
- Verify Charger Settings: Confirm the charger's voltage and amperage settings are correct for your specific battery pack. A mismatch is a simple but common mistake. For a deeper dive into battery health, the Zoomlion service standards offer some great insights.
- Test the Temperature Sensor: Locate the battery temperature sensor. Use your multimeter to test its resistance values and compare them against the specs in your service manual. A failed sensor sends bad data to the control board, tricking it into continuing the charge cycle past 100%.
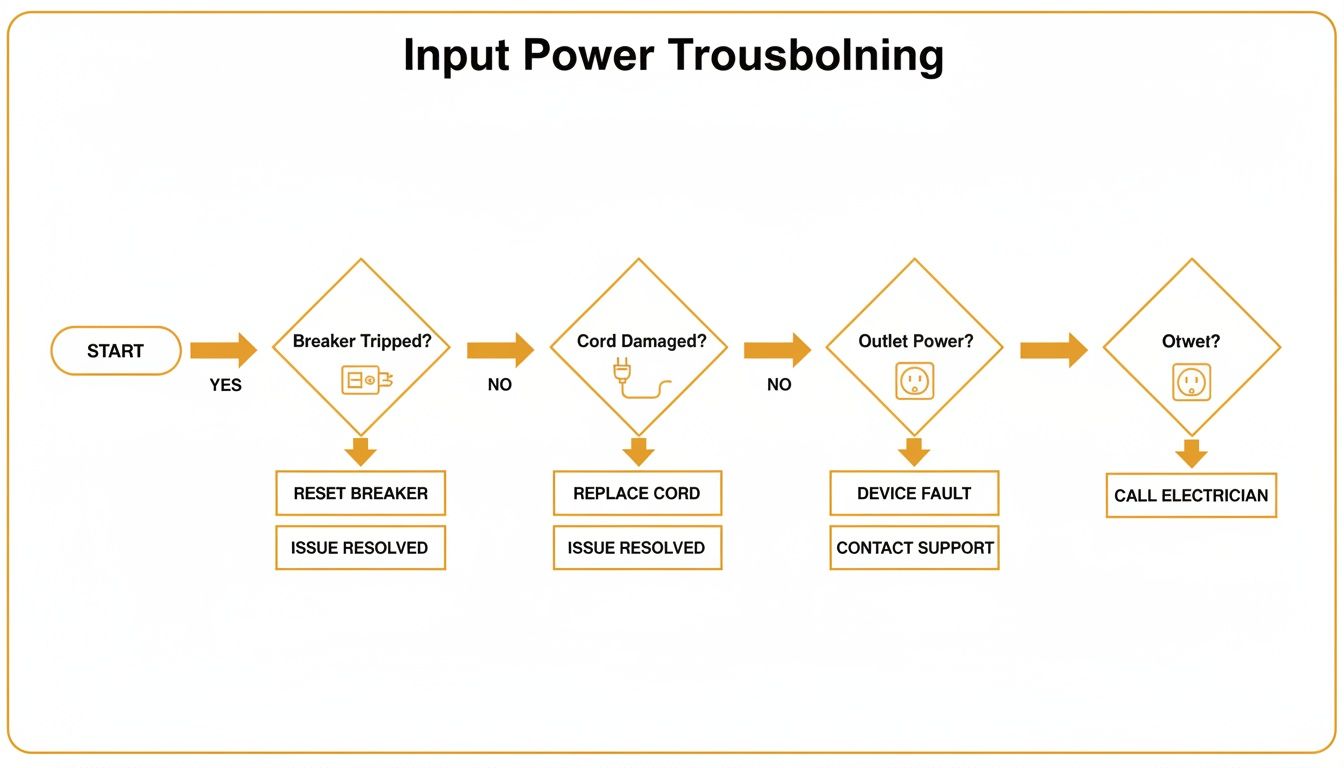
No Light or Rapid Flashing: Input Power Failure
If the charger is dark or flashing erratically, the problem is almost always the AC input power. The charger isn't getting the juice it needs from the wall.
- Check the Circuit Breaker: This is the easiest first step. Go to the breaker panel and make sure nothing has tripped.
- Inspect the AC Cord: Visually inspect the entire length of the AC power cord for cuts, kinks, or burn marks, especially near the plug ends.
- Test the Outlet and Input Terminals: Use a multimeter to confirm you have correct voltage at the wall outlet. If the outlet is good, test the voltage right at the charger's input terminals to see if power is making it all the way inside. Only after confirming good input power should you suspect an internal blown fuse.
For more diagrams, the Zoomlion operator's manual has detailed procedures.
As you can see, systematically checking the breaker, the cord, and the wall outlet is always the fastest way to find the root cause. For a deeper dive into other machine systems, check out our full library of Zoomlion troubleshooting guides.
Complete Zoomlion LED Status and Fault Code Lookup
Here is a comprehensive lookup table for all known Zoomlion charger LED patterns.
| LED Pattern | Status or Fault Name | Meaning and Recommended Action | | :--- | :--- | :--- | | Solid Green | Charge Complete | The battery pack is 100% charged and in maintenance mode. The lift is ready for use. | | Pulsing Green | Charging | Normal operation. The charger is actively delivering current to the battery pack. | | Pulsing Yellow | Equalizing | The charger is performing an equalization cycle to balance battery cells. Let the cycle complete. | | Solid Yellow | Analyzing | The charger is testing the battery's initial state before starting a charge cycle. | | Flashing Red (Single Flash) | Battery Voltage High | The battery pack voltage exceeds the charger's maximum limit. Check for an incorrect battery or a BMS issue. | | Flashing Red (Two Flashes) | Battery Voltage Low | The battery is too deeply discharged for the charger to start. Try a recovery charge or inspect for a dead cell. | | Flashing Red (Three Flashes) | Charge Timeout | The charger ran for its maximum time (typically 12-16 hours) without reaching full charge. Indicates a weak battery that can't hold a charge. | | Flashing Red (Four Flashes) | Internal Over-Temp | The charger's internal temperature is too high. Ensure cooling fans are working and vents are not blocked. Allow it to cool down. | | Flashing Red (Five Flashes) | AC Input Fault / Phase Loss | The charger is not receiving proper AC power. Check the power cord, outlet, and circuit breaker. Verify correct voltage. | | Alternating Red/Green | Battery Fault | The charger has detected a critical battery issue, like a shorted cell or open circuit. Disconnect and test the battery pack immediately. |
Keep this guide handy. It can turn a confusing light pattern into a clear, actionable step.
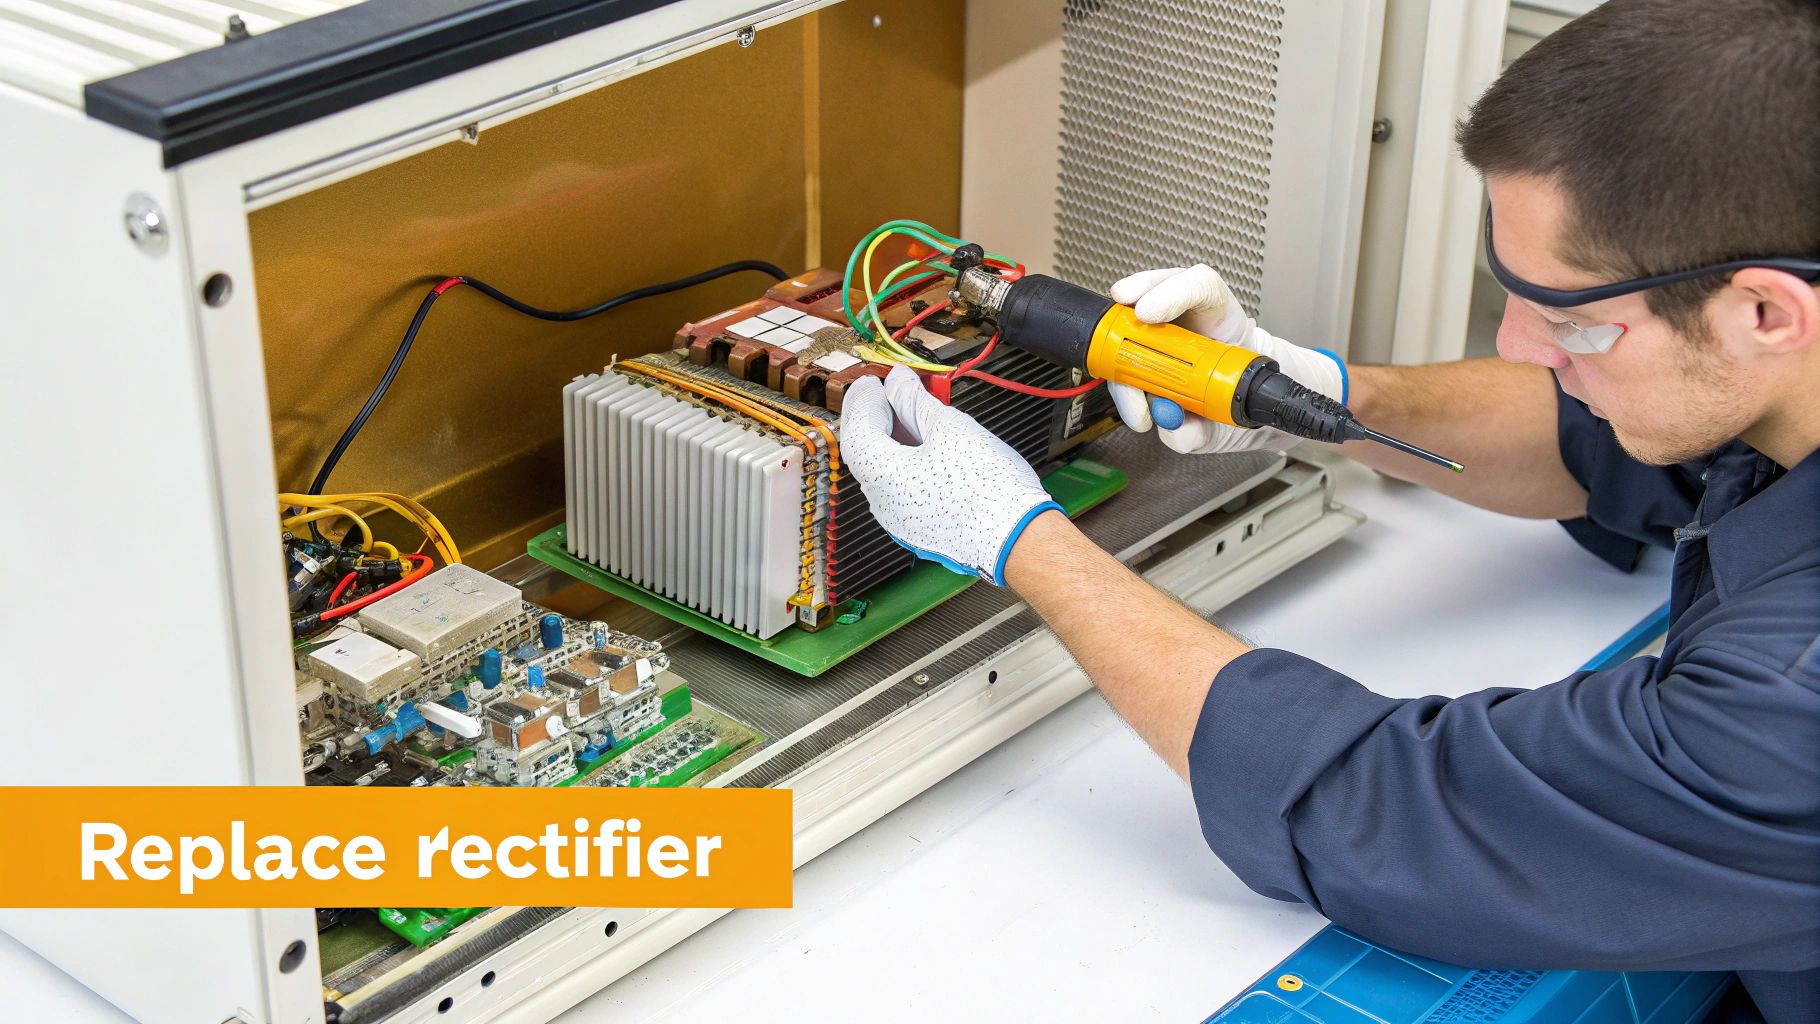
Replacing a Faulty Charger Component
If you've traced the fault to a specific component like a rectifier, the swap is straightforward if you're careful.
- Disconnect all AC and DC power sources. No exceptions.
- Remove the charger cover, typically held on by 6 to 8 hex bolts.
- Identify the failed component. Before disconnecting wires, label them or take a photo with your phone.
- Unbolt the old part from its mounting plate or heat sink.
- Clean the mounting surface thoroughly to remove old thermal paste. If required, apply a thin, even layer of new thermal paste. This is critical for heat dissipation.
- Install the new component, ensuring it sits flush and secure for proper cooling.
- Reconnect the wires exactly as they were. Refer to your specific service manual for torque values—do not overtighten the terminal connections.
The Part You Need
Once you've diagnosed the fault, you need the part now, not in 6-8 weeks from the dealer. The most common failures are rectifier modules, control boards, battery temperature sensors, and high-amperage fuses. China Lift Supply stocks these specific OEM-compatible charger parts in the US to avoid the typical 6-week dealer lead time. Many parts, like temperature sensors, are universal and fit other brands like LGMG and Sinoboom.
Can't wait 6 weeks for this part? We have it on the shelf in Kansas. Check the price and availability here: [Link Placeholder].