If your LGMG scissor lift platform is creeping down while parked, your holding valve on the lift cylinder is likely bypassing fluid. This internal leak is the most common cause, so start your troubleshooting right there to avoid wasting time.
The Quick Diagnosis
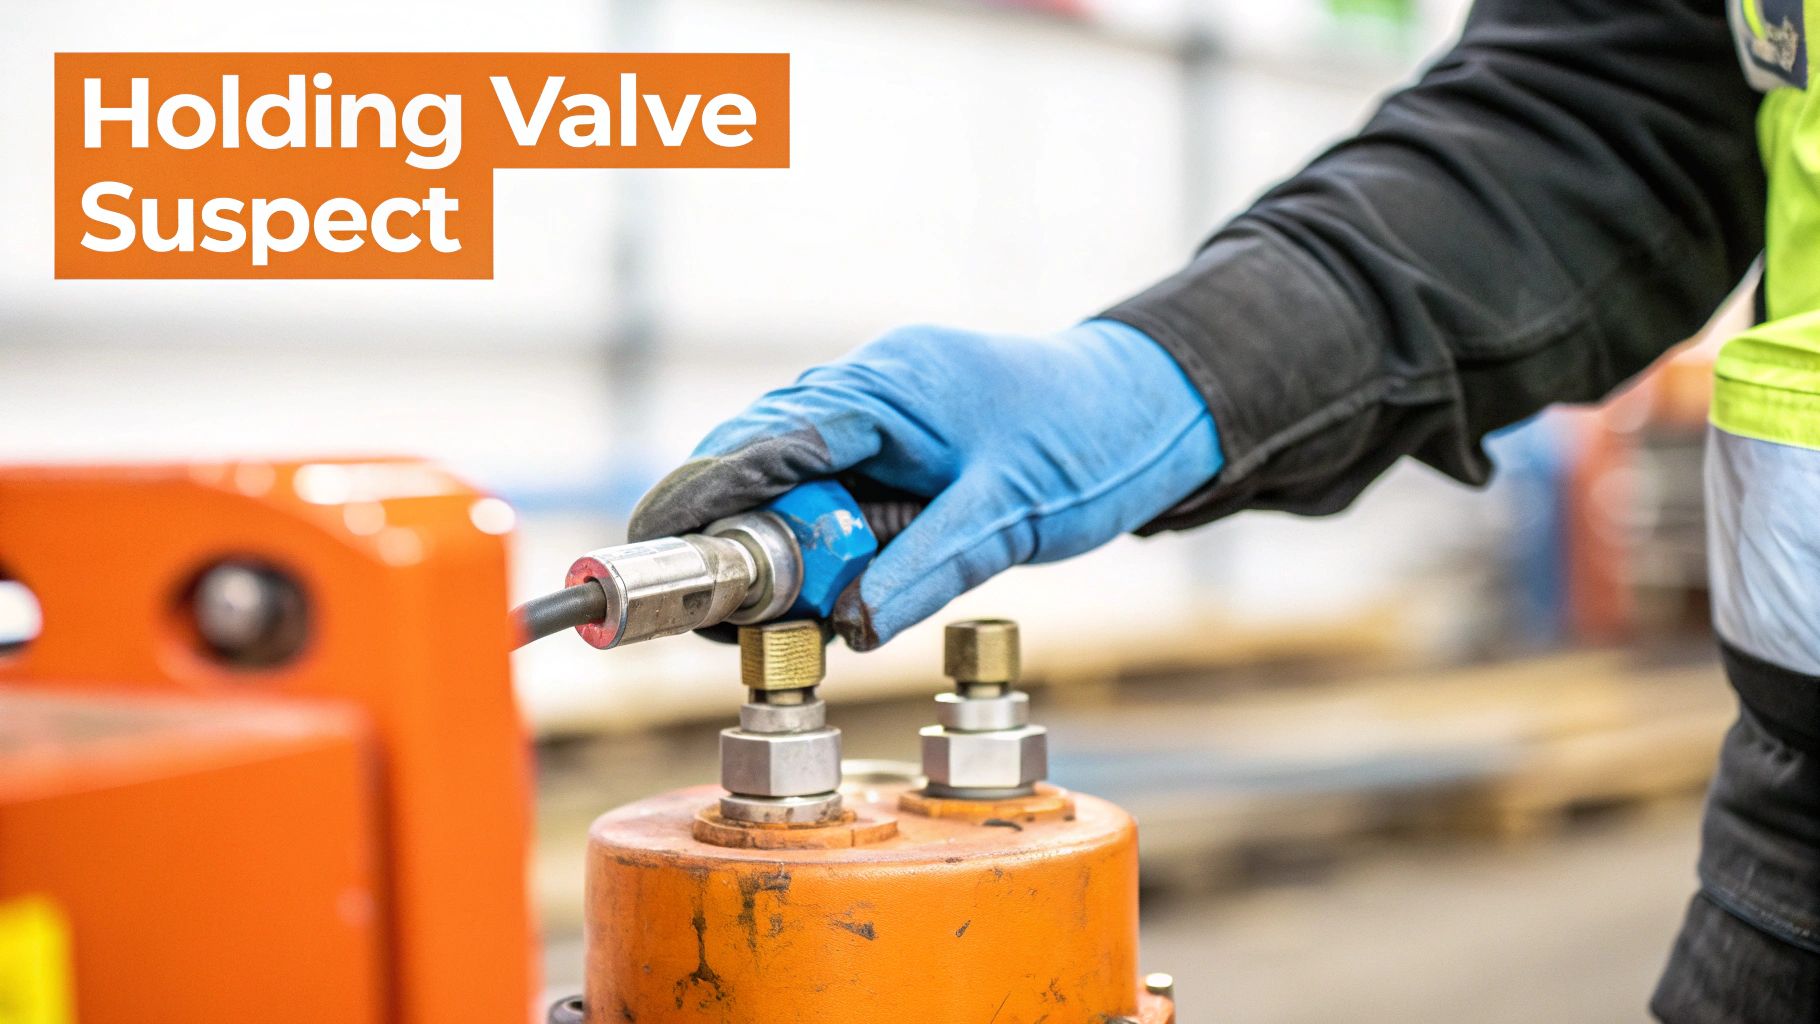
The holding valve (also called a counterbalance valve) on the main lift cylinder is the culprit in 80% of hydraulic creep cases. It's a cartridge-style valve designed to lock fluid in the cylinder. When its internal seals wear out or get contaminated, fluid seeps back to the tank, and the platform drifts down. The fix is to replace the entire valve cartridge.
Symptoms & Identification
To confirm you're dealing with hydraulic creep and not another issue, look for these specific signs:
- Platform drifts down when parked: The machine sinks slowly over minutes or hours, whether it's powered on or off.
- A slight 'settle' after lifting: The platform drops a fraction of an inch the moment you release the lift control.
- The problem gets worse when the oil is hot: A minor morning drift becomes a significant drop after the machine has been running for an hour.
This is different from slow lift speed (a flow issue) or jerky movements (air in the system).
Tools Required
- Hydraulic caps and plugs (for isolating components)
- 5000 PSI High-Pressure Hydraulic Gauge
- Complete Metric Wrench and Socket Set
- Torque Wrench (35-40 ft-lbs capability)
- Clean Hydraulic Oil (ISO 32 or 46)
- Lockout/Tagout Kit
Safety Warning
CRITICAL: Never place any part of your body under an unsupported scissor stack. You MUST use the manufacturer-approved maintenance props or certified, heavy-duty blocks to physically secure the lift before touching a single hydraulic component. Bleed all system pressure by cycling controls with the machine off before cracking any lines.
The Technical Guide (Step-by-Step)
This is a methodical process of elimination. We'll confirm the valve is bad and then walk through the replacement.

1. The Definitive Leak-Down Test
This test proves the holding valve is bypassing fluid.
- Support the Platform: Raise the lift just enough to install the manufacturer's maintenance props. Lockout the machine.
- Bleed Pressure: Cycle the lift control handle a few times with the machine off.
- Install the Gauge: Tee your 5000 PSI gauge into the main pressure line at the base of the lift cylinder.
- Pressurize: Remove the props, power the machine on, and raise the platform 2-3 feet.
- Start the Test: Shut the machine off completely. The gauge now shows the static pressure held by the valve.
- Read the Result: If the pressure drops more than 100 PSI in 5 minutes, the holding valve is bad. A healthy valve will barely move the needle.
2. Replacing the Holding Valve
Once condemned, swap the valve cartridge.
- Prep for Surgery: Re-install the maintenance props and lock out the machine. Thoroughly clean the area around the valve on the hydraulic manifold.
- Disconnect: Unplug the electrical connector from the solenoid. Remove the nut holding the coil on and slide the coil off the valve stem.
- Remove the Cartridge: Using the correct size socket, unscrew the old valve cartridge. Have a drain pan ready for fluid loss.
- Inspect the Port: Clean the valve cavity in the manifold. Use a magnet and lint-free cloth to remove any debris. Installing a new valve in a dirty port will cause it to fail.
- Install the New Valve: Lightly lubricate the new O-rings with clean hydraulic oil. Thread the new cartridge in by hand.
- Torque to Spec: Torque the new valve to 35-40 ft-lbs. Refer to your specific service manual for torque values—do not overtighten.
- Reassemble: Reinstall the solenoid coil and connector. Top off the hydraulic fluid reservoir.
- Test: Remove props, start the machine, and cycle the lift up and down several times to bleed air. Check for leaks.
3. Root Causes: Contamination and Wear
A failed valve is a symptom. The root cause is usually contaminated hydraulic fluid or mechanical wear.
- Dirty Fluid: Contaminants act like sandpaper, scoring the inside of the valve and destroying seals. Stick to your filter and fluid change intervals (500/1000 hours).
- Mechanical Slop: Worn scissor arm wear pads create play in the stack, putting extra stress on the hydraulic system. Inspect them every 250 hours.
- Extreme Temperatures: Fluid viscosity changes dramatically with temperature. Cold, thick fluid can hide a leak, while hot, thin fluid will expose it. Using the correct oil (ISO 32 for cold, ISO 46 for hot) is critical.
Ignoring these root causes means you'll be replacing this valve again soon. For more diagnostic help, see our other LGMG troubleshooting guides or our specific walkthrough for troubleshooting the LGMG SS0407E. You can find OEM specs in LGMG's operational specifications and official LGMG service manuals.
The Part You Need
The component you need is the Lift Cylinder Holding Valve Cartridge. Waiting for a dealer means 6-8 weeks of downtime while the part ships from China. That's unacceptable.
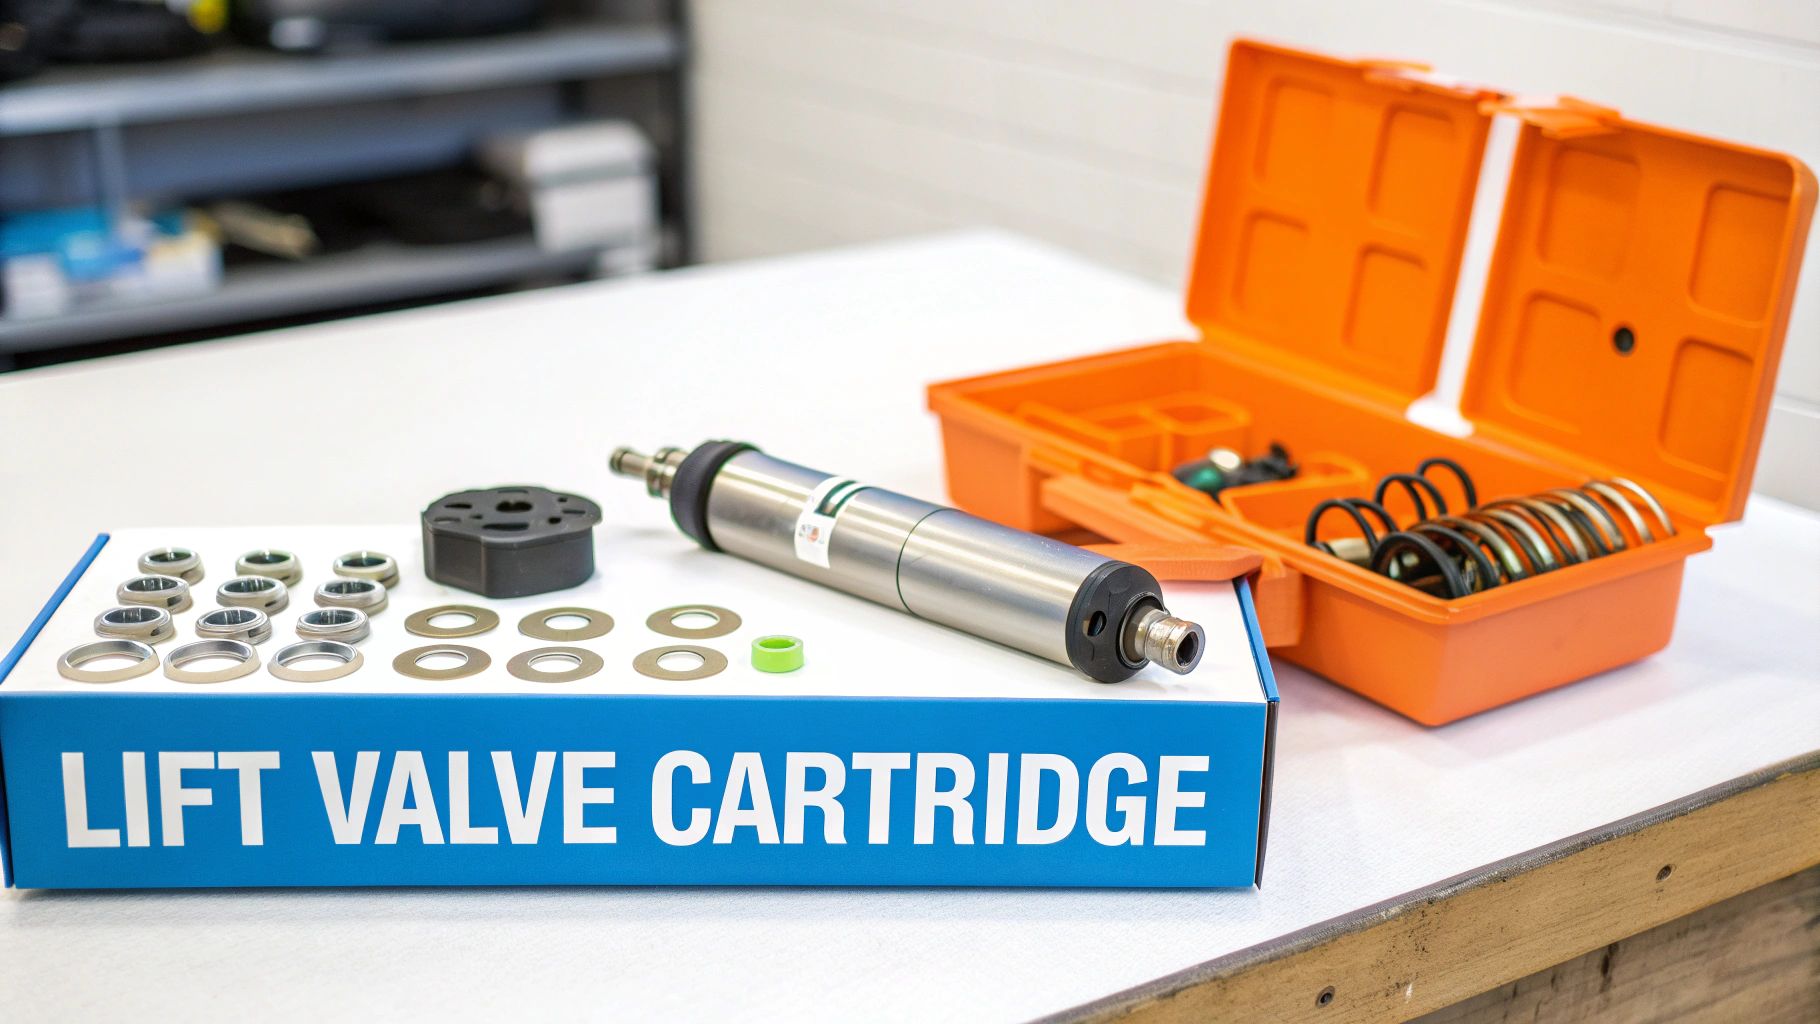
China Lift Supply stocks these OEM-compatible holding valves for LGMG lifts right here in the US. We can ship the same day. Note: Components may vary by Gen 1 vs Gen 2 series. Verify with your parts manual.
FAQs from the Field
Can I just re-seal the old valve?
No. The internal metal surfaces of the valve are likely scored. New seals will be destroyed quickly. Replace the entire cartridge to fix it right the first time.
The holding valve didn't fix it. What's next?
The main piston seal inside the lift cylinder is the next suspect. It's a less common failure, but it's the only other path for a major internal leak.
How do I confirm the cylinder is bypassing?
Perform a cylinder leak-down test. With the holding valve ruled out, you must isolate the cylinder. Cap the rod-end port, apply pressure to the base end, and watch for fluid weeping from the capped port. If you see fluid, the piston seal is bad and the cylinder needs to be rebuilt.
Can't wait 6 weeks for this part? We have it on the shelf in Kansas. Check the price and availability here: https://www.chinaliftsupply.com.