
<div class="feature-box"> <h3>The Quick Diagnosis</h3> <p>If your generic green or yellow charger is dead or blinking, the issue is almost always a bad AC power connection, a blown internal fuse, or a fried control board. Always verify the AC outlet and cord are good before opening the case. If the fuse is blown, it often indicates a larger short circuit inside the unit, and replacement is the fastest fix.</p> </div>
Symptoms & Identification
Before you grab a tool, confirm what the machine is telling you. A common symptom is the charger flashing red and green lights, indicating an internal fault or that it can't detect the battery. A completely dead unit with no lights points directly to an AC power input problem or a blown main fuse. A solid red light that never turns green often means the charger is trying to work but can't push current due to a bad battery or poor connection.
Tools Required
- Quality Multimeter (with continuity beep)
- Insulated Screwdriver Set (Phillips and flat-head)
- Socket and Wrench Set (8mm, 10mm, 13mm)
- Wire Strippers and Crimpers
- Fuse Puller (or small flathead screwdriver)
Safety Warning
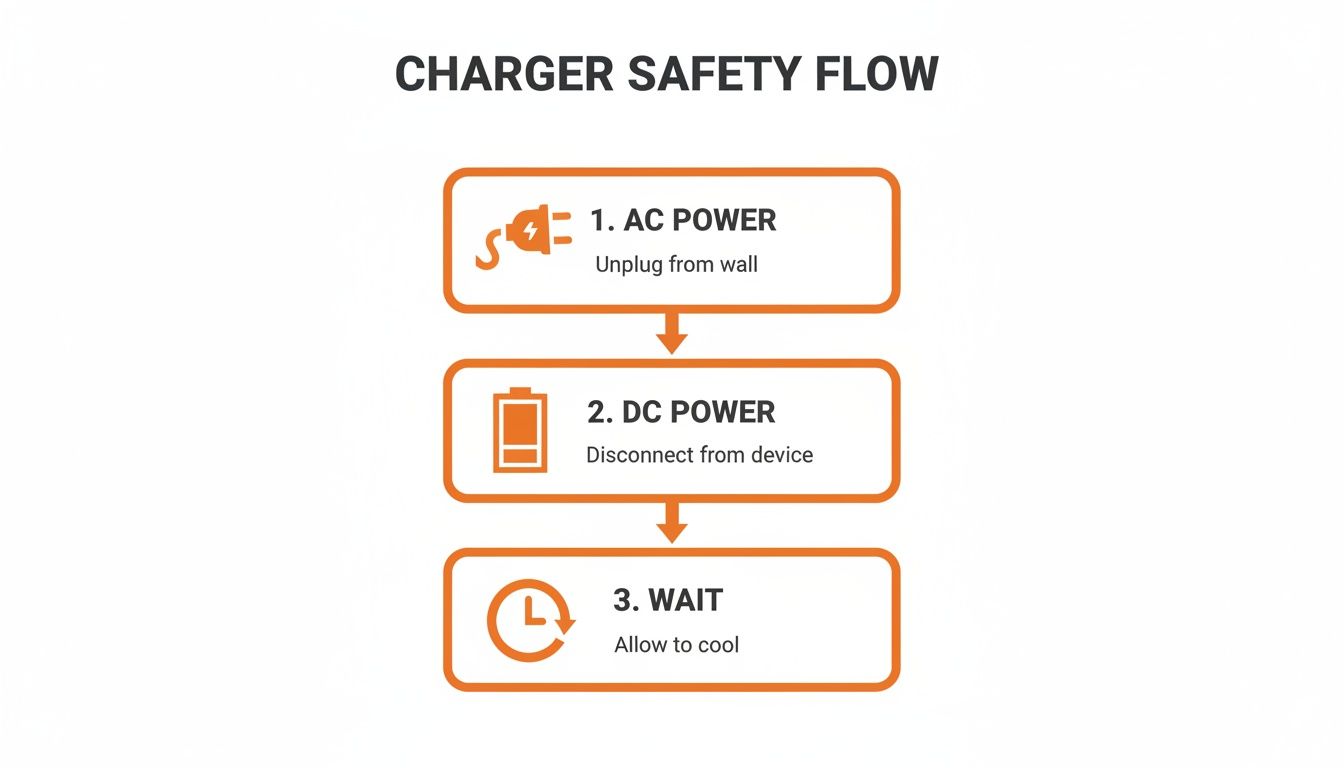
Disconnect the charger from the AC wall outlet and the DC plug from the machine. The large capacitors inside can hold a lethal charge for 10-15 minutes after being unplugged. Wait for them to discharge before opening the case. Wear safety glasses and use insulated tools.
The Technical Guide (Step-by-Step)
You’ve done the external checks and taken the proper safety precautions. It's time to get the cover off and find the real problem. Follow these steps in order to diagnose the fault quickly.
-
Verify AC Mains Input. With the case open, locate the terminal block where the main AC power cord connects. Set your multimeter to AC Volts. Carefully probe the L (Line) and N (Neutral) terminals. You must see 110V to 125V AC. A 0V reading means you have a bad power cord or a broken wire between the plug and the board.
-
Test The Main AC Fuse. The fuse is the charger's first line of defense. It's typically a small glass or ceramic tube near the AC input. Gently pry the fuse out of its holder. Set your multimeter to Continuity (the setting that beeps). Touch one probe to each metal end of the fuse. If the meter beeps, the fuse is good. If it's silent, the fuse is blown. A blown fuse often points to a shorted rectifier or other major component failure.
-
Inspect The DC Output Cable And Connector. The large DC connector takes a lot of abuse. Visually inspect the pins for corrosion, damage, or being pushed back into the plastic housing. A pushed-back pin is a common and overlooked cause of a "no charge" fault. Follow the cable back to the circuit board and gently wiggle the connection. Cracked solder joints will cause intermittent charging.
-
Test The DC Output Voltage. This test confirms if the transformer and rectifiers are working. Set your multimeter to DC Volts (use a range of 100V or higher). With the charger plugged in but not connected to the forklift, carefully touch the red probe to the positive (+) DC terminal and the black probe to the negative (-) terminal on the board. A healthy 48V charger should read 48V to 55V DC. A 24V charger should read 24V to 28V DC. If you get 0V, the transformer or rectifier circuit has failed. Note: Components may vary by Gen 1 vs Gen 2 series. Verify with your parts manual.
-
Perform A Visual Inspection Of The Circuit Board. Your eyes are a powerful diagnostic tool. Scan the entire printed circuit board (PCB) for obvious failures. Look for:
- Burn Marks: Black, sooty spots around resistors or diodes.
- Swollen or Leaking Capacitors: The tops of capacitors should be perfectly flat. A bulging top or crusty brown leakage means the capacitor has failed.
- Cracked Solder Joints: Vibration can cause connections to fail over time.
- Corrosion: Any green or white powder indicates moisture damage.
The Part You Need
If you find a fried control board, swollen capacitors, or no DC output voltage, the fastest and most reliable fix is to replace the entire charger unit. Don't waste hours on board-level repair. The villain is downtime, and waiting 6-8 weeks for a dealer part from China is not an option.
A universal replacement charger is the smart solution. This Delta-Q charger profile works for both LGMG and Sinoboom, and similar universal chargers can be configured for any lead-acid or AGM battery pack, simplifying your parts inventory.
China Lift Supply stocks universal and OEM-compatible chargers in the US, eliminating the 6-week dealer lead time.
Can't wait 6 weeks for this part? We have it on the shelf in Kansas. Check the price and availability here: [Link Placeholder].