Your Genie charger won't work on a Sinoboom lift. The problem isn't power; it's mismatched connectors and incompatible control wire pinouts. You need an adapter that correctly maps the power terminals and, more importantly, bridges the interlock signal so the Genie charger can talk to the Sinoboom's ECU without throwing a fault code.
The Quick Diagnosis
You have a good Genie charger and a Sinoboom scissor lift with a different plug. The issue is the physical connector and the charger inhibit/interlock signal wire, which is pinned differently. A purpose-built Genie-to-Sinoboom charger adapter is required to map the DC positive, DC negative, and the crucial inhibit pin correctly.
Symptoms & Identification
If you're dealing with a charger incompatibility issue, you'll see one or more of these symptoms:
- The Genie charger's status lights immediately start flashing a fault code when connected to the Sinoboom.
- The charger powers on but the charge cycle never starts (no fan, no hum).
- The Sinoboom's onboard diagnostic display shows an active fault code related to the charging system.
- The physical plugs don't match (e.g., Gray Anderson plug on the Genie charger, Red proprietary plug on the Sinoboom).
Tools Required
- Multimeter (for pinout verification)
- Socket set or wrench (for battery terminals)
- Electrical contact cleaner (optional)
Safety Warning
Safety Warning: Before touching any connector, disconnect the main negative battery terminal from the battery pack. This prevents accidental shorts that can damage the controller. Chock the wheels.
The Technical Guide (Step-by-Step)
You've confirmed the electrical specs are a match. Now, let's get the adapter installed safely. A loose connection can cause intermittent charging faults or fried pins.
- De-energize the Machine. With the key off, disconnect the main negative battery terminal. This is a mandatory step to prevent electrical damage.
- Verify Pinouts. Even with a new adapter, use your multimeter for a 60-second check. Identify the DC Positive (+), DC Negative (-), and the Charger Inhibit signal wire on both the Genie charger plug and the Sinoboom’s charge receptacle. The adapter must map these pins correctly. The inhibit wire is the low-voltage signal that tells the machine's ECU to disable drive functions.
- Make Secure Connections. Plug the adapter firmly into the Sinoboom’s charge port until it clicks and seats securely. Next, connect the Genie charger's Anderson plug to the adapter. Give both connections a gentle tug to ensure they're locked in.
- Re-energize and Power Up. Reconnect the main negative battery terminal. Refer to your specific service manual for torque values—do not overtighten. Turn the machine’s main power switch on. Finally, plug the Genie charger into a reliable AC power source.
- Confirm the Handshake. Watch the status lights on the Genie charger. After a brief analysis period (a few flashes), it should settle into a solid "charging" light (often amber) and you may hear the fan kick on. This indicates a successful handshake—power is flowing and the inhibit signal has been received by the Sinoboom's controller.
If you get a fault light, unplug everything immediately and re-check your pinouts and connections. The most common cause is a bad connection on the inhibit signal wire.
The Part You Need
The solution is a pre-wired, tested Genie-to-Sinoboom adapter. It standardizes your charging hardware, allowing you to use existing Genie chargers across your Sinoboom equipment. China Lift Supply stocks this adapter in the US, eliminating the 6-8 week lead time from an OEM dealer. This universal approach fits multiple brands, simplifying your spare parts inventory.
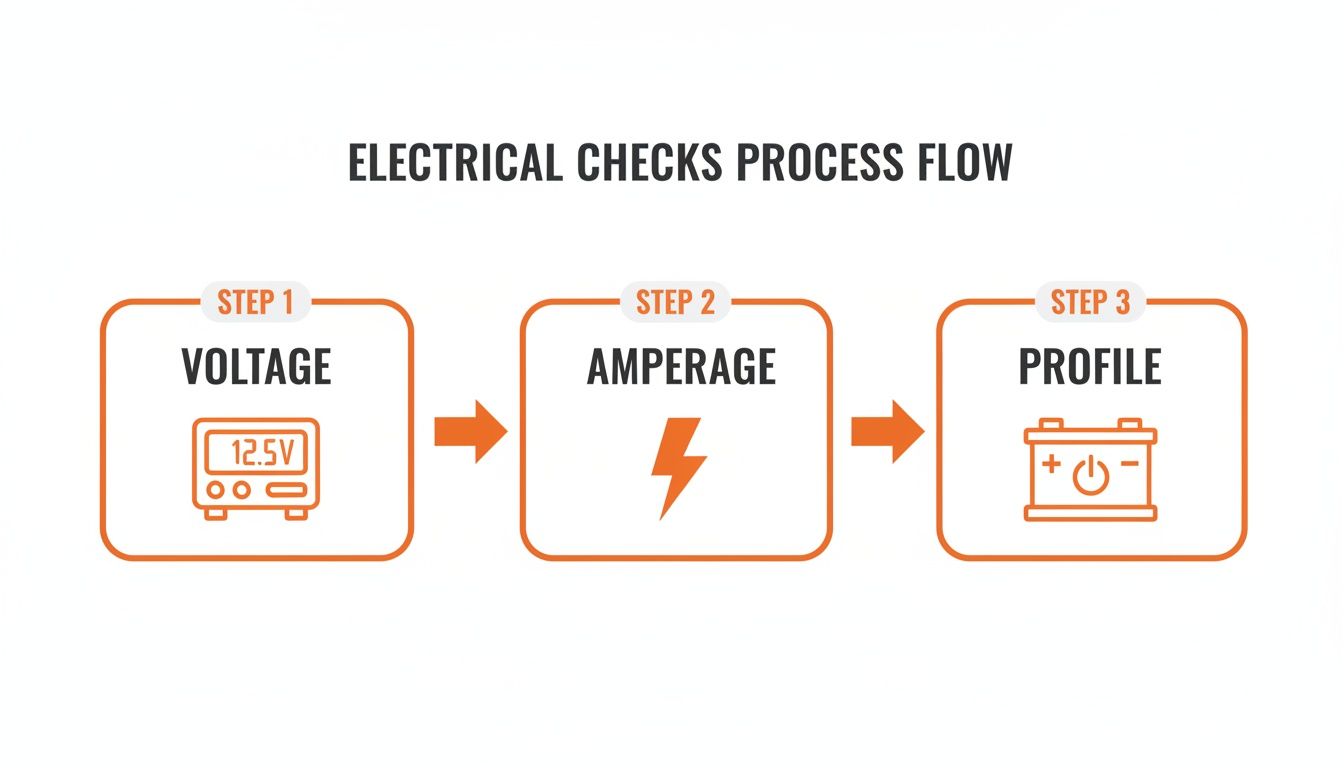
Verifying Electrical Specs Before Connecting
Stop. Before plugging anything in, verify three things to avoid frying a controller or a set of batteries.
- Voltage: Confirm both the Genie charger and the Sinoboom lift operate on a 24V DC system. Check the data plates on both the chassis and the charger. Do not proceed if they don't match.
- Amperage: Your charger’s output must match the Sinoboom’s battery pack. Most Sinoboom scissor lifts use four 6V batteries, creating a 225Ah (Amp-hour) system. A charger rated between 17A and 30A is the sweet spot. Too low (<15A) will undercharge and shorten battery life; too high (>30A) will overheat and destroy the batteries.
- Charging Profile: This is critical. You must match the charger’s algorithm to the battery chemistry. Using the wrong profile can cut battery life by 50%.
- Flooded Lead-Acid (Wet Cells): Require a higher gassing voltage.
- AGM (Absorbed Glass Mat): Are sealed and require a lower, precisely controlled voltage. Using a flooded profile on AGM batteries will cook them.
To change the profile on a Delta-Q charger, use the button near the display lights to cycle through the algorithms. A sticker on the charger case lists what each number corresponds to.
Troubleshooting Common Faults
<iframe width="100%" style="aspect-ratio: 16 / 9;" src="https://www.youtube.com/embed/oIBD4wWLIOg" frameborder="0" allow="autoplay; encrypted-media" allowfullscreen></iframe>If the lift still won't charge with the adapter, run through these common issues before tearing things apart.
Symptom: Charger Is Completely Dead—No Lights, No Sounds
Cause: This almost always points to an AC power supply problem. Solution:
- Check the Outlet: Plug a known-good tool into the same outlet.
- Check the Extension Cord: Ensure it’s a heavy-duty cord rated for the charger’s amperage draw and inspect it for damage.
- Check the Charger Fuse: Most industrial chargers have an AC fuse. Replace it with a fuse of the exact same amperage rating. If it blows immediately, the charger has an internal short.
Symptom: Charger Powers On But Flashes a Fault Code
Cause: This indicates the charger isn't getting the "permission" signal from the lift via the inhibit/interlock wire. The adapter's job is to bridge this connection. Solution:
- Inspect Connectors: Unplug the adapter. Look closely at every pin on both the adapter and the lift's receptacle for corrosion, dirt, or bent/pushed-in pins.
- Test the Inhibit Pin: With the charger disconnected, use a multimeter to verify the inhibit circuit is complete from the lift's controller to the charge port. A break in this circuit is the root cause.
- Verify Adapter Pinout: Confirm the adapter is mapping the wires correctly according to the pinout diagrams for both the Genie and Sinoboom.
Symptom: Batteries Won't Reach 100% Charge
Cause: This is not an adapter issue. It's almost always either the wrong charging profile selected on the charger or a failing battery cell in the pack. Solution:
- Confirm the Charge Profile: Double-check that the charger's algorithm matches the battery type (Flooded Lead-Acid vs. AGM).
- Test Individual Batteries: If the profile is correct, you likely have a bad battery. Disconnect the series connections and use a digital battery tester or hydrometer to check each 6V battery individually. One weak cell will drag the entire pack's voltage down.
For more, our Sinoboom troubleshooting guides offer model-specific fault codes and testing procedures.
Cross-Reference & Alternatives
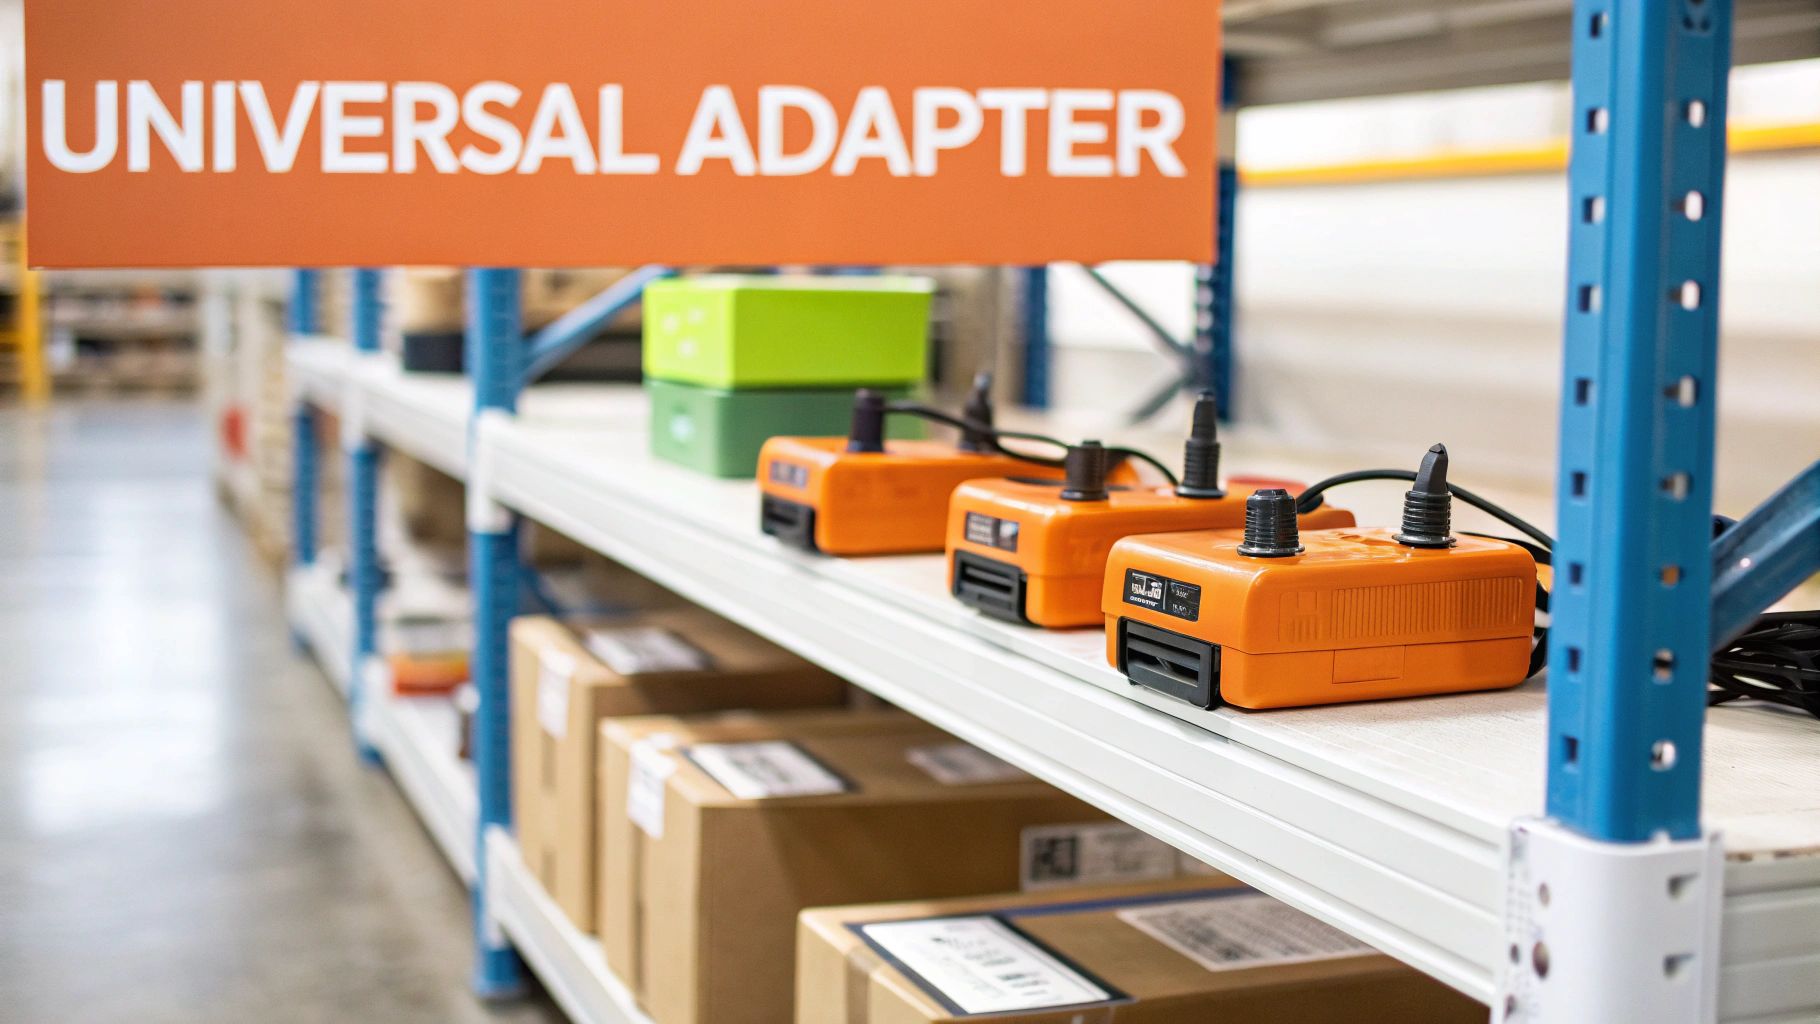
While the dedicated adapter is the cleanest solution, some shops use universal chargers. A "universal" or "all-makes" charger typically has a standard Anderson-style plug and multiple programmable algorithms. This Delta-Q charger profile works for both LGMG and Sinoboom, for instance. However, you still run into the same physical connector problem on the Sinoboom, meaning you still need an adapter.
The goal is to standardize. This adapter makes every Genie charger a universal charger for your Sinoboom lifts. This approach simplifies training, reduces diagnostic time, and cuts down on the number of spare charger SKUs you need to stock. You can browse a selection of compatible industrial chargers to see how this strategy can apply across your entire fleet.
Can't wait 6 weeks for this part? We have it on the shelf in Kansas. Check the price and availability here: https://www.chinaliftsupply.com/products/charger-adapter-for-genie-to-sinoboom.