If your Zoomlion lift is unresponsive, has erratic movements, or is throwing joystick-related fault codes, the joystick assembly has likely failed or lost its calibration. Don't waste hours chasing intermittent electrical gremlins with a multimeter. Immediate replacement is the fastest, most reliable way to get the machine off the disabled list and back to work.
The Quick Diagnosis A single non-responsive function (like lift but no drive), jerky movements, or function "creep" points directly to a failing joystick. The internal potentiometers wear out, sending bad voltage signals to the ECU. The fix is to replace the entire joystick assembly and recalibrate.
Symptoms & Identification
Before you tear into the main control box, confirm the operator's complaint matches one of these classic joystick failure symptoms. This confirms you're on the right track.
- No Response from One Function: The machine drives and steers fine, but the platform won't lift or swing. This indicates a failure on a specific axis of the joystick.
- Jerky or Erratic Movements: Instead of smooth, proportional control, the lift lurches or hesitates. This is a tell-tale sign of a failing internal potentiometer sending jumpy voltage signals.
- Function "Creep": A major safety red flag. A function, like boom lift or swing, moves slightly even when the joystick is in the neutral, hands-off position. This is caused by a joystick that has lost its calibrated center point.
- Joystick-Specific Fault Codes: Newer Zoomlion models will often throw specific codes on the display like "Joystick Signal Error" or "Out of Range Fault," telling you exactly where the problem is. For a deeper dive into error codes, our comprehensive guide on Zoomlion troubleshooting can provide more context.
Tools Required
- Metric Socket Set (1/4" and 3/8" drive, 8mm-13mm)
- Metric Allen Key Set
- Screwdriver Set (Phillips and flathead)
- Terminal Pin Removal Tool (non-negotiable for Deutsch/Molex connectors)
- Digital Multimeter
- Diagnostic Handset or Laptop with Interface (for newer CAN-Bus models)
Safety Warning
Disconnect the negative battery terminal first. Before opening the control box, perform a full lockout-tagout procedure. Isolate the machine at the main power disconnect, then remove the negative battery cable to eliminate any risk of shorting out the ECU or other sensitive electronics.
The Technical Guide (Step-by-Step)
Swapping a joystick on a Zoomlion is a straightforward job if you’re methodical. The key is paying close attention to the wiring. Get that wrong, and you'll be chasing electrical gremlins for hours.
-
Safety and Preparation: Park the lift on a level surface, lower the platform, and chock the wheels. Kill the power at the key switch and perform the lockout-tagout procedure detailed in the safety warning above.
-
Access the Controls: The control box lid is typically held on with 8mm or 10mm bolts. Remove them and place them in a magnetic tray. Lift the cover off gently; if it’s stuck, a firm tap with your palm should break the weather-seal gasket free. Do not pry it open.
-
Document and Disconnect: Before touching a single wire, take several clear photos of the wiring with your phone. This is your get-out-of-jail-free card for harness routing and connector locations. The joystick connects through a multi-pin Deutsch or Molex connector. Use a small pick or flathead to gently release the locking tab while separating the plug. Never force it. Check for corrosion on the pins.
-
Remove the Old Joystick: The joystick assembly is usually held in by four Allen head bolts from underneath the lid. Remove them and lift the old joystick out.
-
Install the New Joystick: Wipe down the mounting surface. Seat the new joystick, ensuring it's oriented correctly. Start all four bolts by hand to prevent cross-threading. Tighten the bolts in a star pattern to apply even pressure. Refer to your specific service manual for torque values—do not overtighten, as it can crack the plastic housing.
This diagram illustrates the streamlined process for getting the tools and parts needed to minimize your machine's downtime.
-
Reconnect and Reassemble: Reconnect the electrical plug; you should hear a solid click. Refer to your photo to confirm correct harness routing, ensuring no wires are pinched. Re-seat the control box cover and its gasket, then reinstall the cover bolts snugly.
-
Power Up: Reconnect the negative battery terminal and turn the main power disconnect back ON. The physical replacement is done. Now for the most critical phase: calibration.
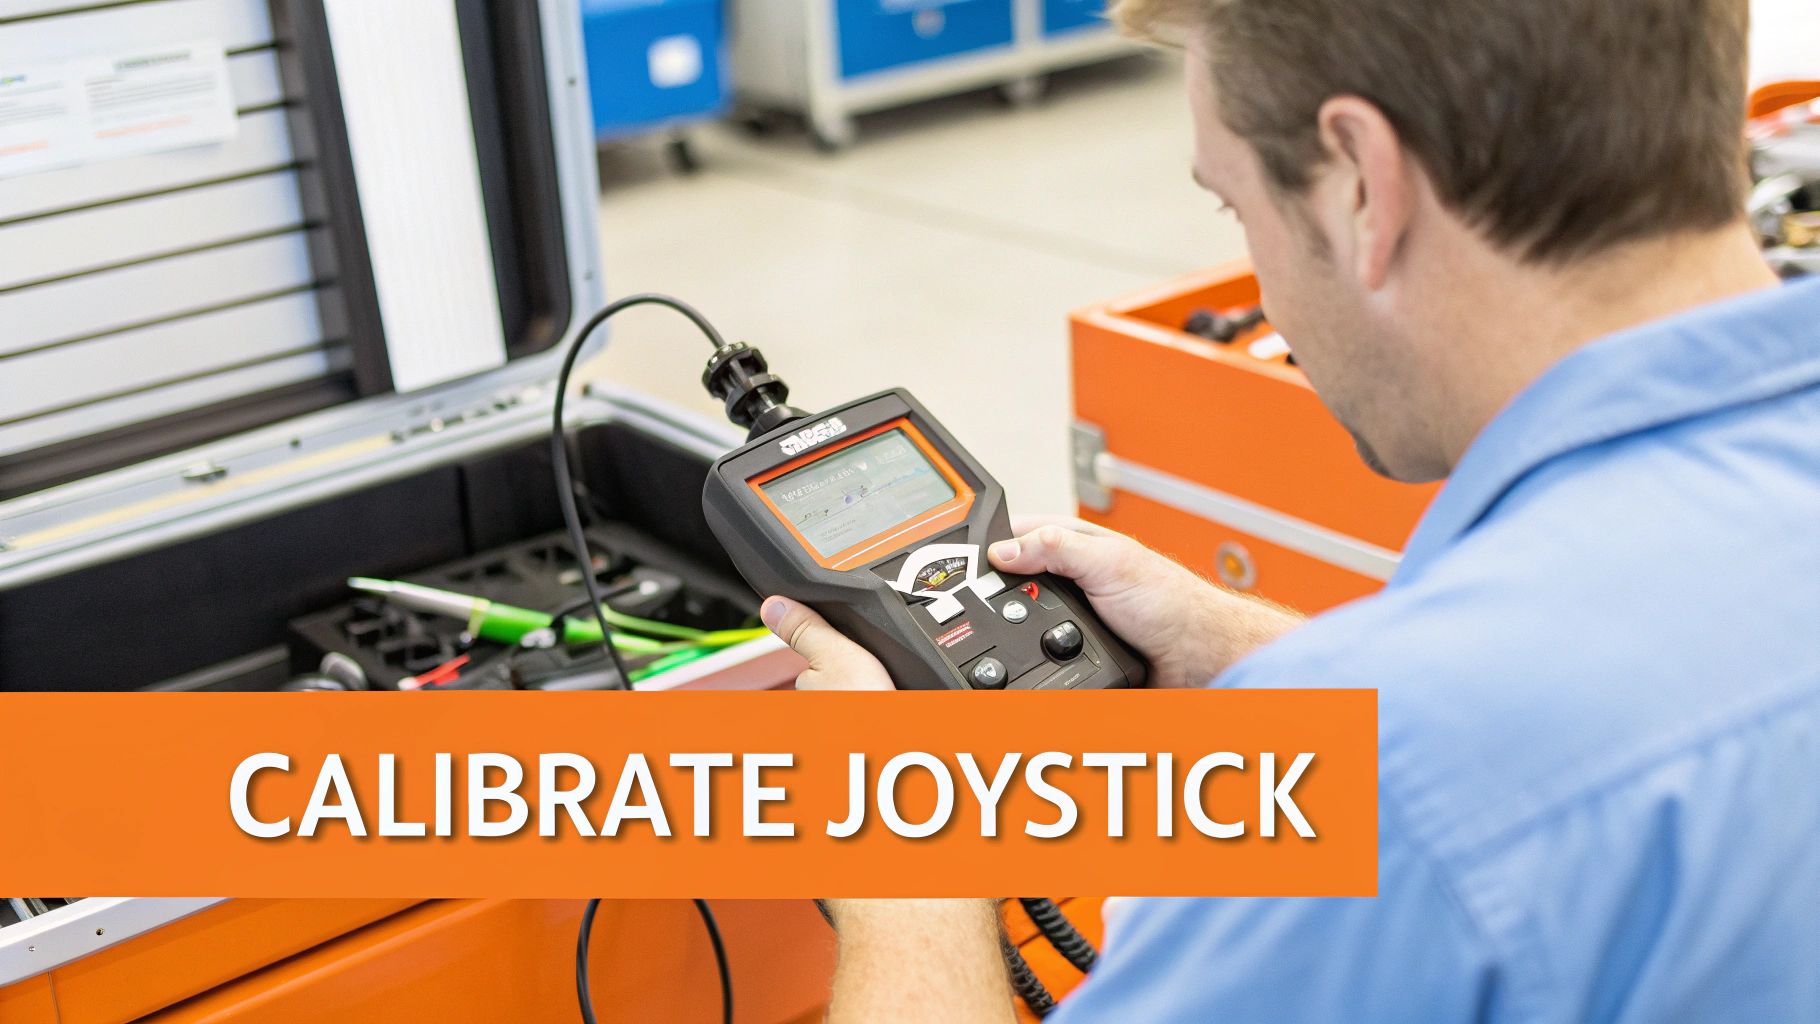
Calibrating Your New Zoomlion Joystick
A new joystick is just a paperweight until you teach it how to talk to the machine's ECU. This calibration process is non-negotiable. Skipping it will cause jerky movements or dangerous function creep. The procedure depends on the machine's age and control system.
Why Calibration Is Not Optional
Calibration creates a baseline, telling the ECU what specific voltage signal means neutral, full speed forward, or full speed reverse. Without this, the ECU might interpret a neutral stick as a slight command to lift, or it might not recognize the full range of motion, leaving you with sluggish performance.
Manual Calibration for Older Analog Systems
Older Zoomlions may use a manual, sequence-based calibration. While the exact sequence varies by model, it generally follows this pattern:
- Power on the machine, release the E-stop, and select platform controls.
- Depress the footswitch.
- Perform the specific sequence to enter calibration mode (e.g., cycle the key switch three times quickly).
- With the joystick in its neutral position, wait for a confirmation beep or flash.
- Slowly move the joystick to its fullest extent in one direction and hold for a few seconds.
- Return to neutral, then move to the opposite extreme and hold.
- Repeat for every axis (e.g., left/right).
- Cycle the key switch to save the new settings.
Always consult the service manual for your specific model. The wrong sequence can wipe existing settings.
Software-Based Calibration for Modern CAN-Bus Lifts
Newer CAN-Bus systems require a diagnostic tool. There is no manual workaround. The Industrial Joysticks Market was estimated at USD 0.552 billion in 2025 and is projected to climb to USD 0.801 billion by 2034, driven by this kind of tech. You can explore more data on the growth of the industrial joysticks market on businessresearchinsights.com.
- Connect the Tool: Plug your diagnostic handset or laptop into the machine's diagnostic port.
- Navigate to Calibration: Power on and navigate the software menus to "Calibration" or "Settings."
- Select the Joystick and follow the on-screen prompts.
- Set Neutral: Leave the joystick centered and click the button to "Set Neutral" or "Learn Center."
- Calibrate Each Axis: The software will instruct you to move the joystick to its maximum and minimum positions. Move the stick slowly to its physical stop and hold it until the software registers the value.
- Verify and Save: The tool will display live data. You should see 0% at neutral and 100% at the extremes. If the values are correct, save the configuration.
Testing and Troubleshooting After Installation
<iframe width="100%" style="aspect-ratio: 16 / 9;" src="https://www.youtube.com/embed/6mt45DeP3xo" frameborder="0" allow="autoplay; encrypted-media" allowfullscreen></iframe>Before you hand the keys back, run a final function check. Skipping this is the difference between a professional repair and a frustrating callback an hour later.
The Final Function Check
- Dead-Man Switch Test: Ensure no function operates without the joystick's trigger activated.
- Neutral Position Check: Confirm there is absolutely zero function creep with the joystick centered.
- Proportional Control Test (Low & High Speed): Test for smooth, predictable movements at both tortoise and rabbit speeds. Any lurching or dead spots means the calibration is wrong.
- Full Range of Motion: Test every function to its physical limits to ensure full performance.
Post-Installation Fault Code Troubleshooting
If a fault code pops up after your joystick replacement, this table will help you quickly identify the cause.
| Fault Code (Example) | ECU Reading/Meaning | Most Likely Cause | Corrective Action | | :--- | :--- | :--- | :--- | | F01-03 | Joystick Signal Out of Range High | The joystick is reporting a signal that's higher than the ECU's expected maximum value. | 1. Re-run the calibration, ensuring you move the stick fully to each limit. 2. Check for a short to power on the signal wire. | | F01-04 | Joystick Signal Out of Range Low | The signal from the joystick is below the ECU's minimum expected value. | 1. Verify the connector is fully seated. 2. Check for a loose ground or break in the signal wire. 3. Re-run the calibration. | | F01-02 | No Signal from Joystick | The ECU is not receiving any data from the joystick. | 1. Check the main joystick connector for unseated pins. 2. Confirm the joystick has power. 3. Ensure you installed the correct part for the model. | | F03-11 | Function Creep Detected | The ECU sees a non-zero signal from the joystick when it should be neutral. | 1. Re-run the neutral position calibration. 2. Ensure the rubber boot isn't preventing the stick from returning to true center. |
Mechanic's Insight: A "Joystick Out of Range" fault code right after a new install is almost never a bad part. It's far more likely the calibration didn't save correctly, a pin isn't fully seated, or the joystick part number is wrong for the machine's software. Check your work before you blame the component.
For specific models like the ZS2632DC, our detailed Zoomlion ZS2632DC troubleshooting guide can help you trace schematics.
The Part You Need
The single biggest source of downtime on this job is waiting for the part. Ordering a joystick from a dealer often means a 6 to 8-week lead time from China. Your machine doesn't make money sitting in the shop.
We stock direct-fit, OEM-compatible joysticks for a huge range of Zoomlion models right here in the US. This means you can have the part shipped the same day you order it. Check our full inventory of in-stock aerial lift parts to see what's ready to ship today. Note: Components may vary by Gen 1 vs Gen 2 series. Verify with your parts manual.
Can't wait 6 weeks for this part? We have it on the shelf in Kansas. Check the price and availability here: https://www.chinaliftsupply.com.