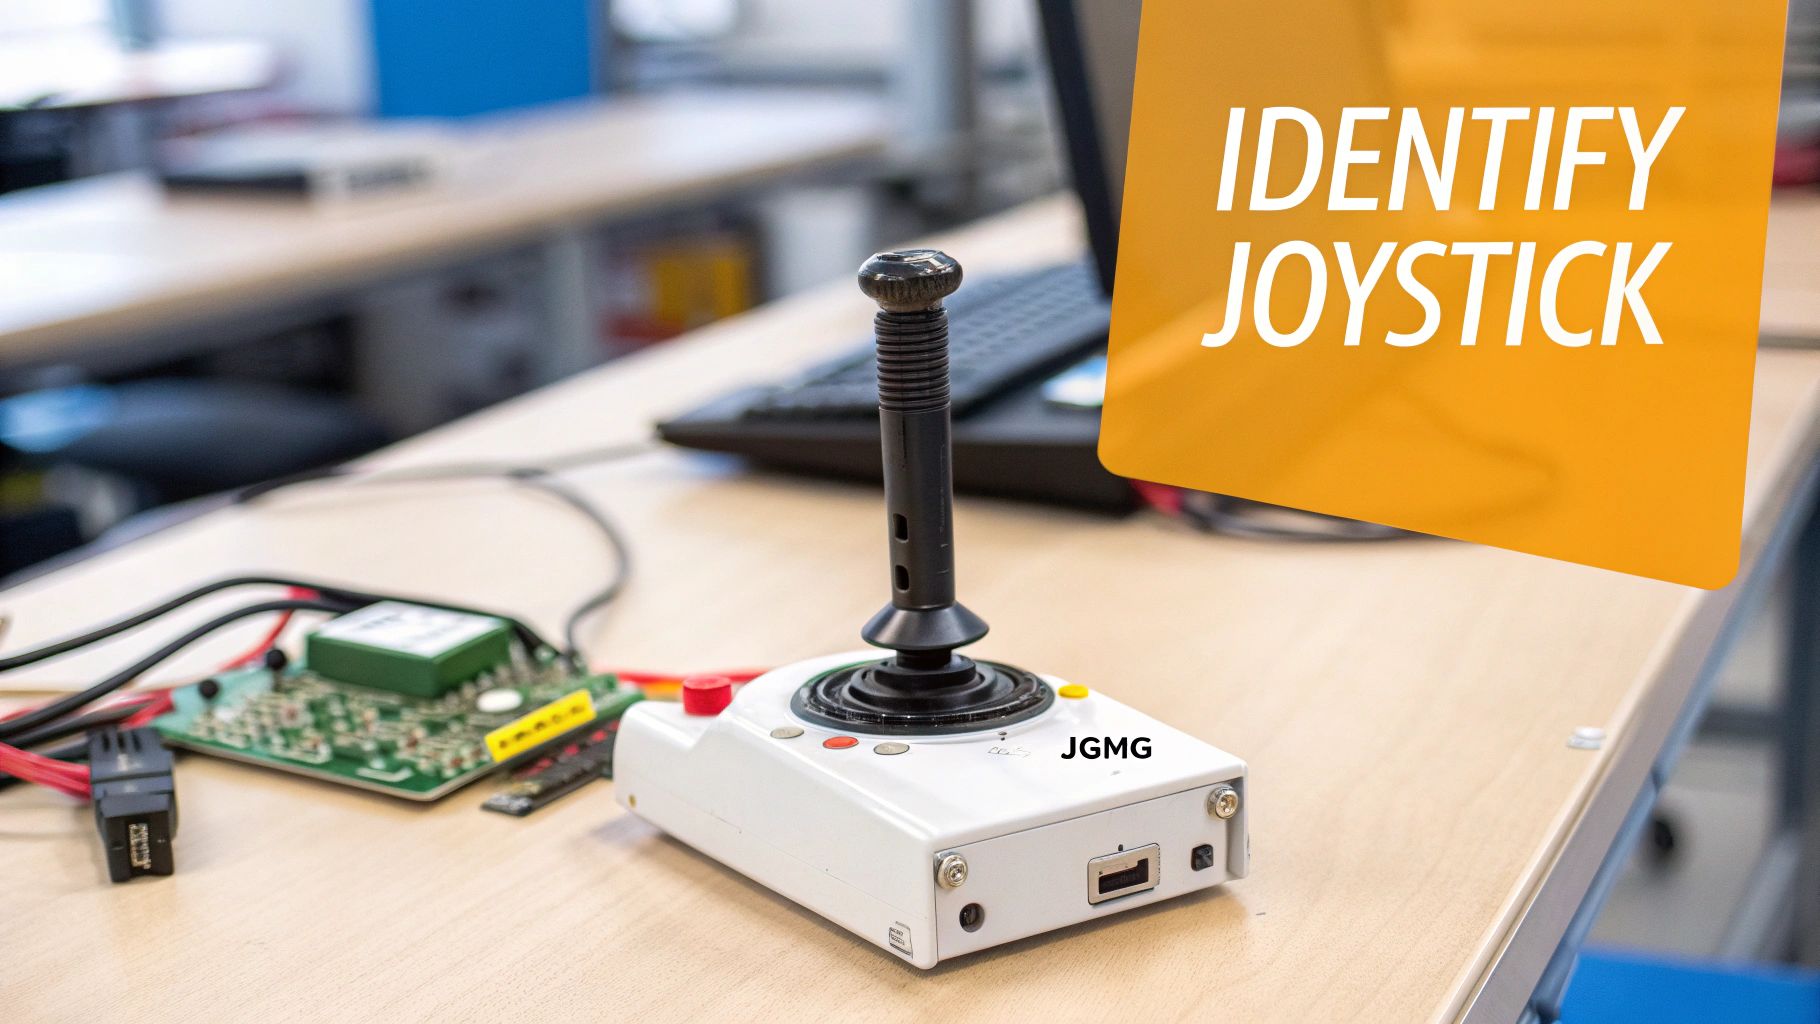
The Quick Diagnosis If your LGMG lift has erratic or dead functions, the joystick is a prime suspect. Boom lifts use a Dual-Axis Hall effect controller, older scissors use a Single-Lever potentiometer, and new slab lifts use a PCU-Integrated CAN-Bus unit. Identify it by the part number tag on the housing; if that's gone, match the connector style (Deutsch vs. Amphenol) and pin count.
Symptoms & Identification: What the Machine Is Telling You
Before you start tearing into the platform controls, you have to be sure the joystick is the actual problem. A failing controller sends some pretty specific signals—you just have to know what to look for. Chasing a hydraulic or electrical ghost when the joystick is the real culprit is a surefire way to burn daylight and frustrate the boss.
- Loss of a single function: The machine drives forward and reverse perfectly, but it won't steer left.
- Creeping or "ghost" movements: The operator's hands are off the controls, but the boom drifts slightly on its own. This points directly to a faulty sensor inside the joystick that's not returning to a true neutral position.
- Delayed or erratic response: You push the stick to lift, and there's a one-second delay, or the movement is jerky and not proportional.
- Full speed or nothing: The joystick loses its proportional output. The machine jerks at full speed as soon as the joystick is moved even slightly off-center.
- Joystick-related fault codes: Newer machines with a PCU display may flash specific codes pointing to an input device failure.
Tools Required
Most of this is already in your toolbox, but a couple of items are non-negotiable for doing this job right.
- Digital Multimeter: Absolutely essential for checking voltage at the pins and testing for continuity.
- Basic Socket and Screwdriver Set: For removing access panels and unbolting the joystick housing.
- Pin Removal Kit: If you need to inspect or reseat a pin in a Deutsch or Amphenol connector, a proper pin tool prevents damage.
- Electrical Contact Cleaner: To clean corrosion from connector pins.
Safety Warning
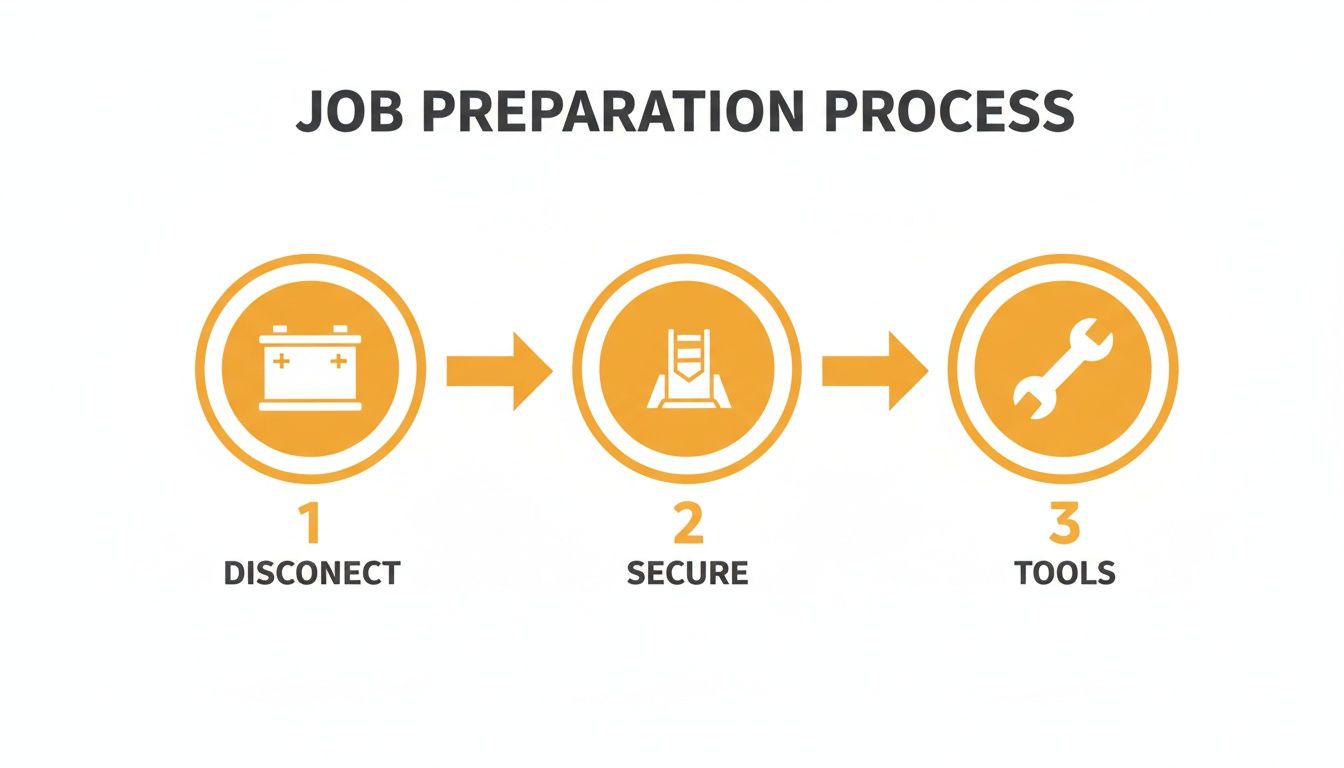
Before you put a single tool on that lift, stop. The electrical systems are low voltage but can carry high amperage, and hydraulic systems are under immense pressure. Lockout/Tagout is mandatory.
- Chock the wheels so the lift cannot roll.
- Lower and secure the platform per the LGMG service manual.
- Turn the key switch to the OFF position.
- Disconnect the main negative battery terminal. This is the only way to guarantee you won't get an accidental short circuit.
- Tag out the machine to notify others it is being serviced.
The Technical Guide: Step-by-Step Joystick Identification
Alright, let's get this machine back in service. You've confirmed the symptoms and have your tools. Now comes the critical part: correctly identifying the joystick so you order the right replacement the first time.
-
Find the Part Number Label. Your fastest path is the LGMG part number sticker on the joystick housing. You may need to unbolt the joystick from the control box to find it on the underside. If years of pressure washing have destroyed the label, move to the next step.
-
Identify the Connector Type. If the part number is gone, disconnect the joystick from the main harness and ID the electrical connector. LGMG uses a few standards, and matching the style and pin count is your next best bet.
- Deutsch DT/DTM Series: Rectangular, gray or black, with a wedge-lock. Count the pin sockets—usually 6 to 12 pins.
- Amphenol AT/ATM Series: Circular connectors, often with a threaded locking collar. Count the pins.
- PCU-Integrated Connectors: On newer slab scissors, the joystick's wiring is integrated directly into the Platform Control Unit's (PCU) circuit board. In this case, you're identifying the entire PCU, not just the stick.
- Note: Components may vary by Gen 1 vs Gen 2 series. Verify with your parts manual.
-
Perform Electrical Verification. When you can't ID the part visually, the multimeter is the final word. This test confirms if you have a simple on/off switch or a proportional Hall effect joystick. For this test, the key switch must be ON—ensure the machine is secure.
- Find Power (V+) and Ground (GND). Use a wiring diagram to locate the pins for power (steady 5V or 12V DC) and ground.
- Test for Proportional Output. Back-probe a suspected signal pin (e.g., forward/reverse). In neutral, you should read a steady voltage, typically ~2.5V DC. As you slowly push the joystick, the voltage should climb smoothly toward 5V (or drop toward 0V). This smooth, variable voltage is the signature of a Hall effect or potentiometer proportional controller.
- Test for Switched Output. If the voltage on a pin jumps from 0V straight to 12V the instant you move the stick, you have a simple on/off switch.
For a deeper dive into specific LGMG parts, you can always check our extensive LGMG parts database for more detailed information.
The Part You Need
You've identified the faulty controller. The villain is now downtime and the 6-8 week dealer lead time from China. Replacing the entire joystick unit is the only reliable fix.
China Lift Supply stocks OEM-compatible replacement joysticks for all major LGMG models right here in the US to avoid that delay. Whether you need a Dual-Axis controller for a T72J boom, a Single-Lever for an older scissor, or a complete PCU for an SS-series slab lift, we have it ready for same-day shipping.
Can't wait 6 weeks for this part? We have it on the shelf in Kansas. Check the price and availability here: China Lift Supply parts finder.